Birthday Cake & Orbital Material | The Ron & Way Show

Your favorite Open Source Sorcerers are at it again!

We take a dive into the birthday cake model I worked on for use in the planetarium, and we get to explore Ron’s delightfully clever way of using shader nodes to display a fading orbital trail.

Be sure to hit the Like button, and please do subscribe to both of our channels while you’re there.

The birthday cake was shown in the previous post along with a link to the blend file.

A Very Fishy UV Map

Generating a hemisphere model in Blender with properly spaced UVs for fisheye dome masters.

UVs are texture coordinates. An image plane 3D model would be measured in X and Y coordinates. The image texture applied to that model would be measures in U and V coordinates.

I frequently need to apply fisheye images to a virtual dome within Blender. Sometimes I’m prototyping, sometimes I’m building a scene with a dome in it, sometimes I’m splitting the dome into parts for special effects in the planetarium.

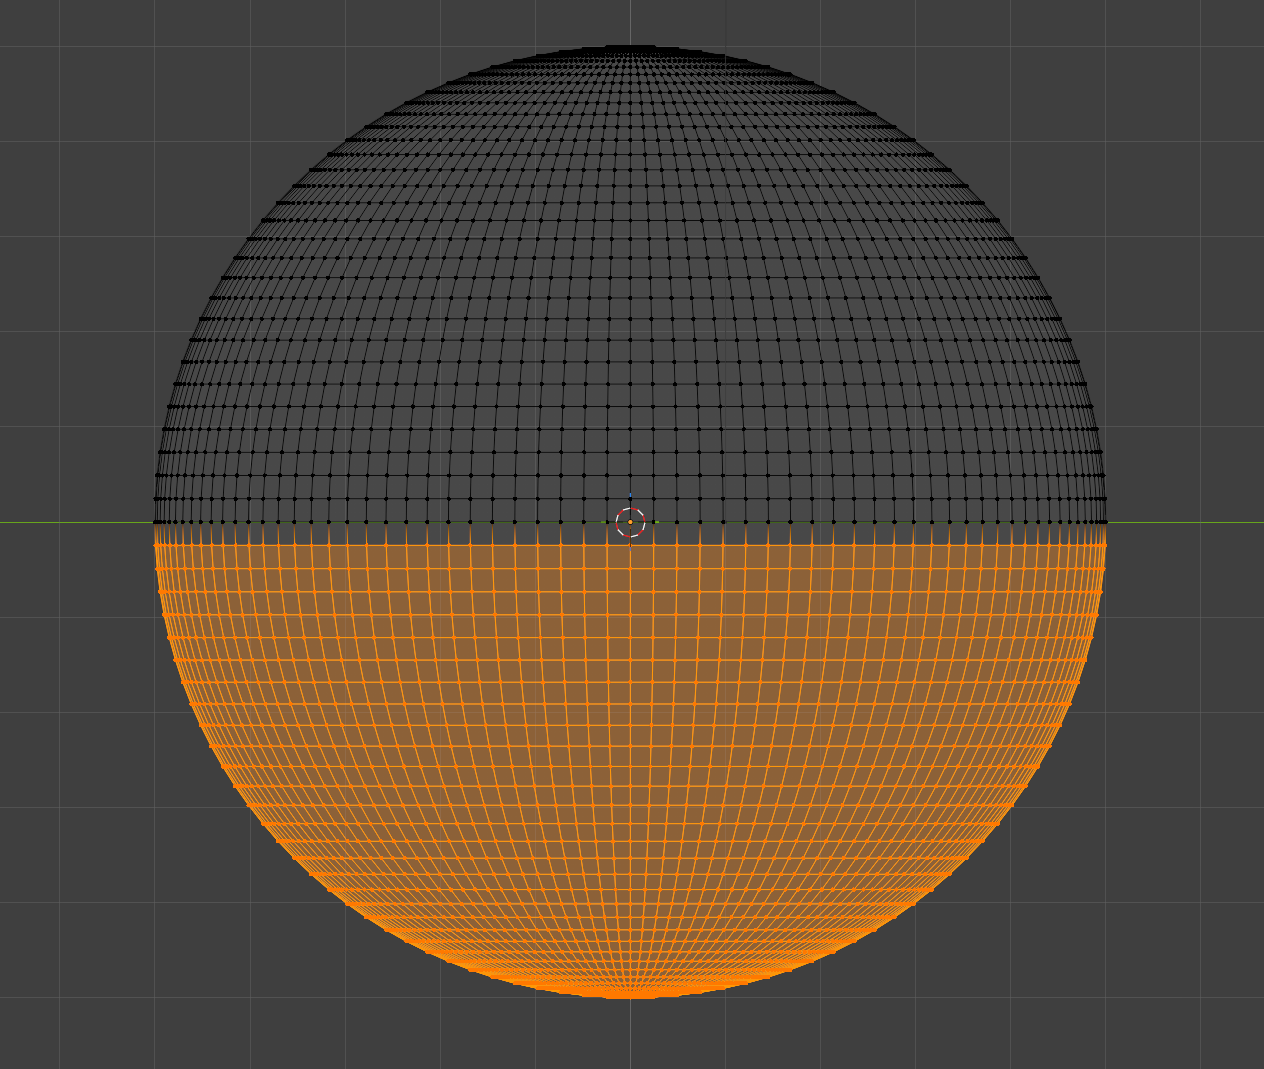
The quickest way has always been to create a UV Sphere and delete the bottom half.
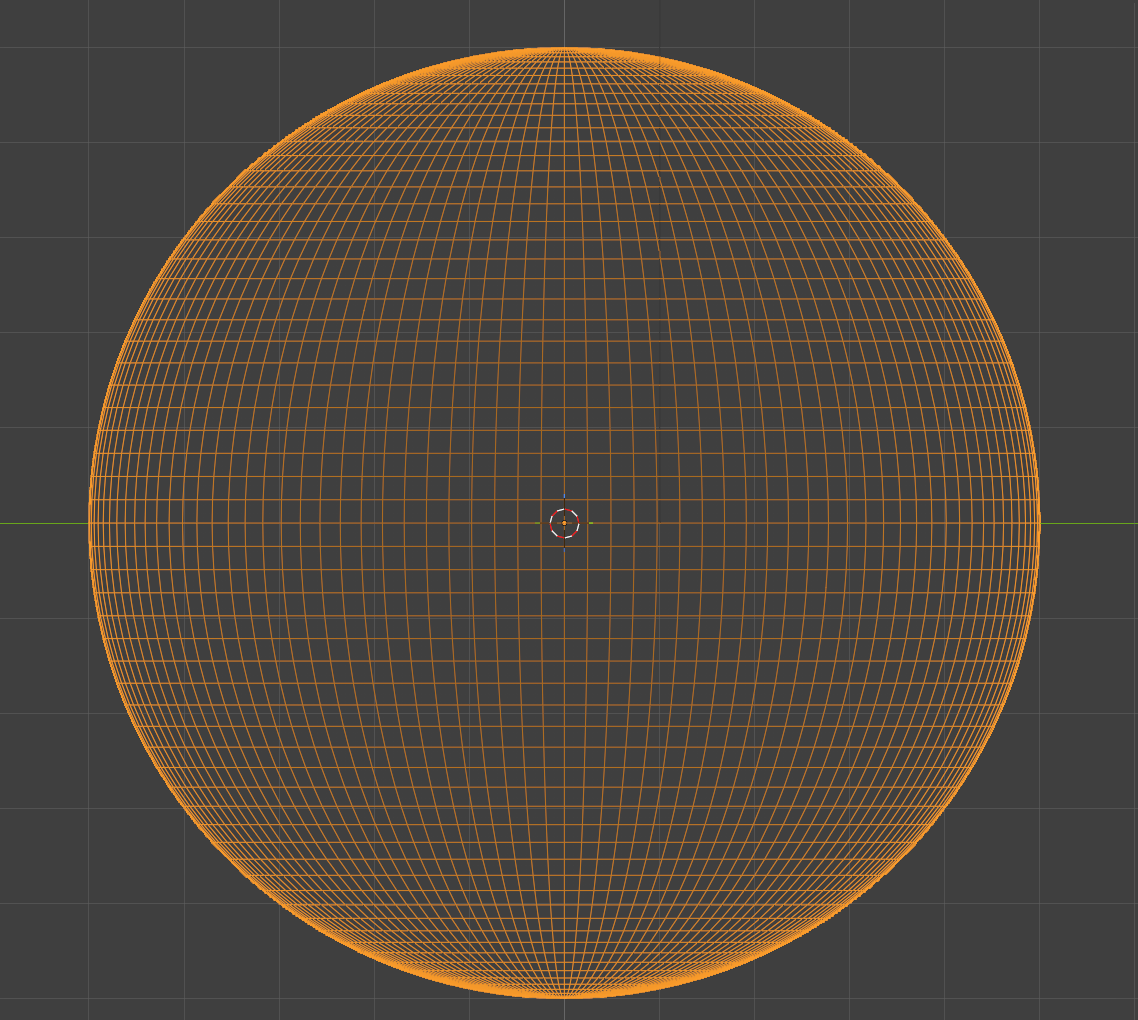
Orange wireframe sphere wireframe sphere, bottom half orange

This results in a nice looking hemisphere, but we can’t apply a fisheye, since the UV map is half of what was created for the full sphere..
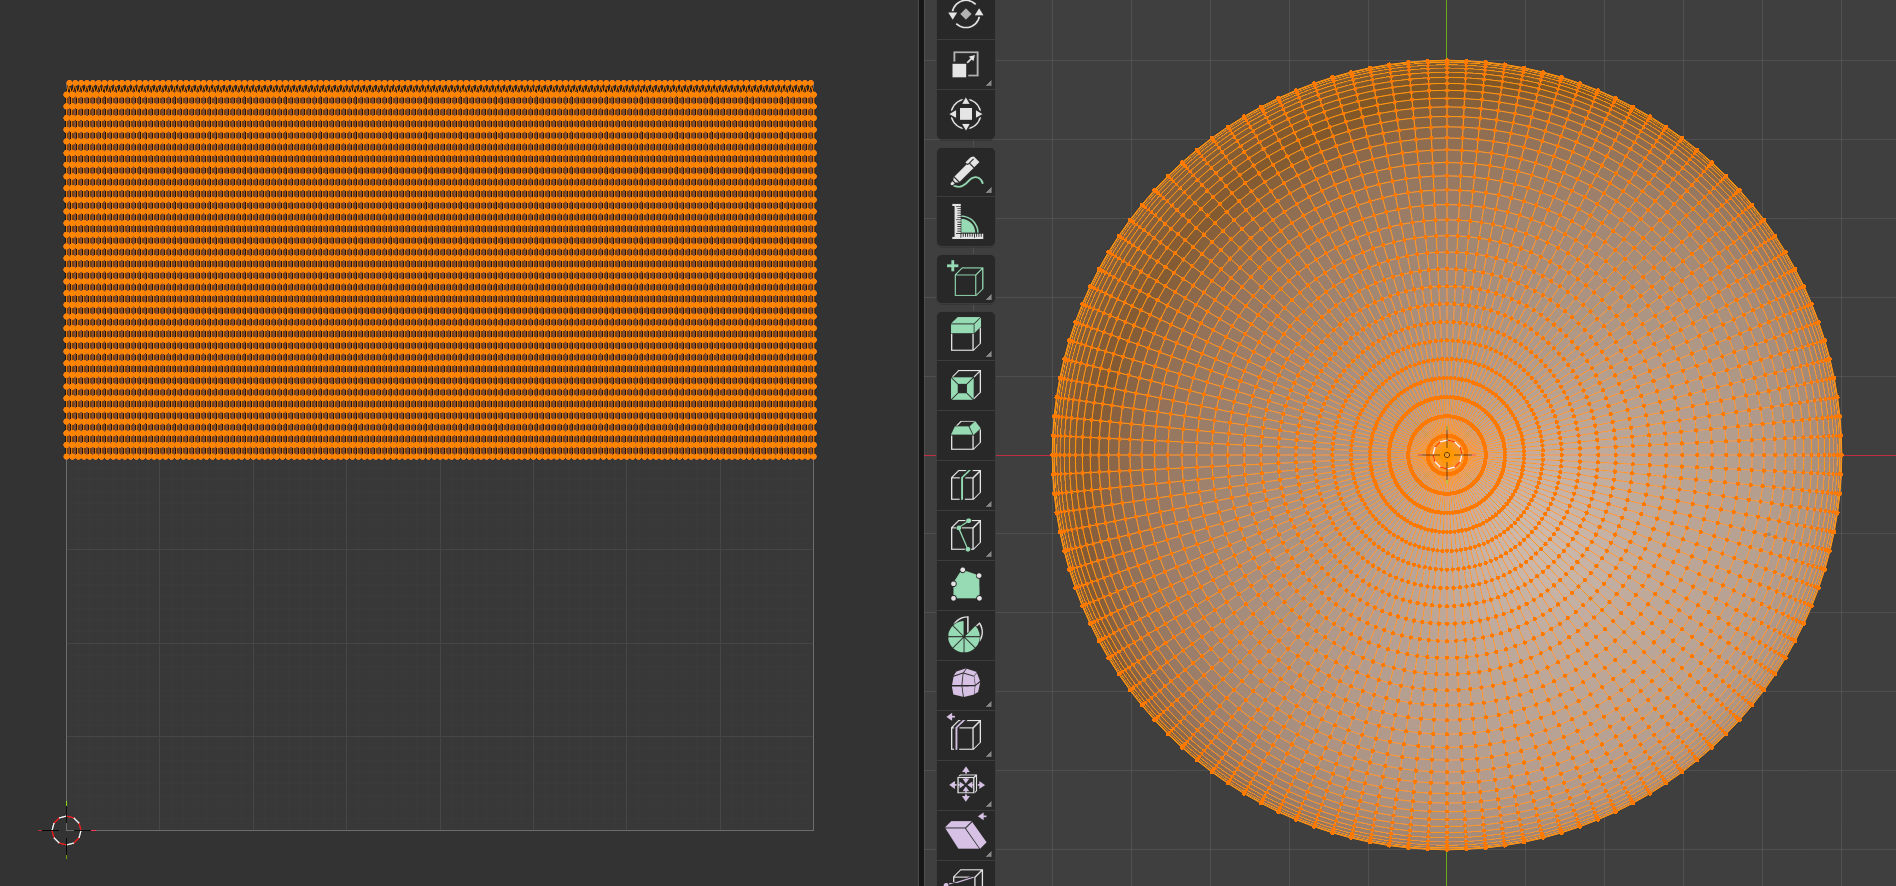
wireframe rectangle on left, wireframe hemisphere on right

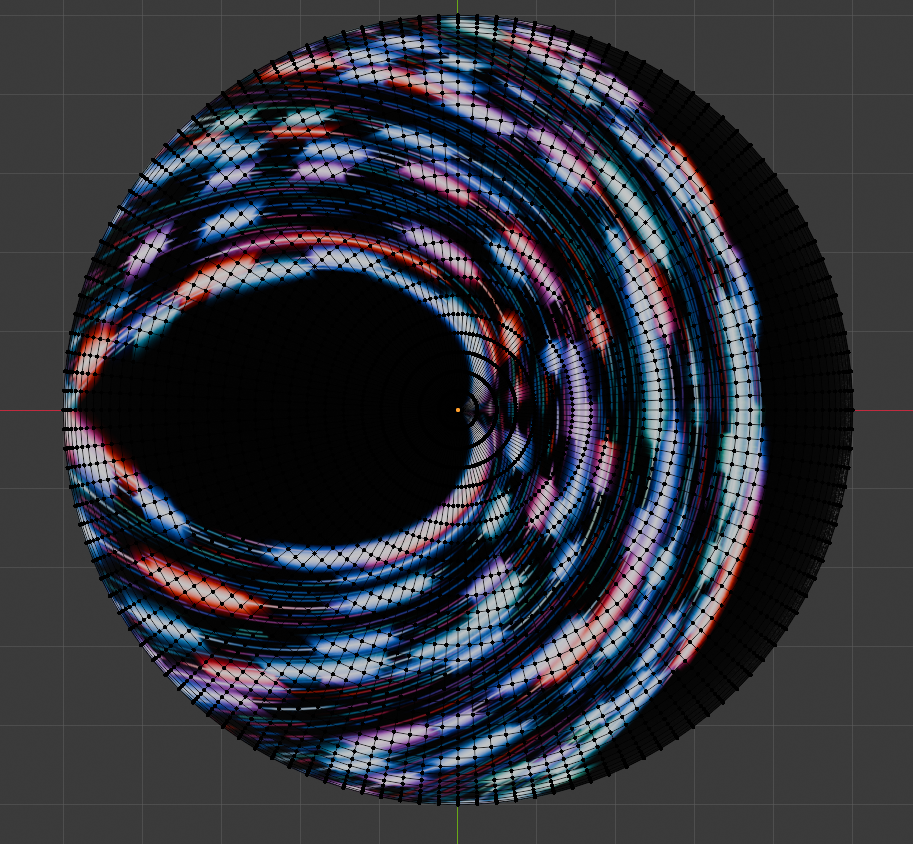
Applying an image to the map yields a fun result, but not what we want..
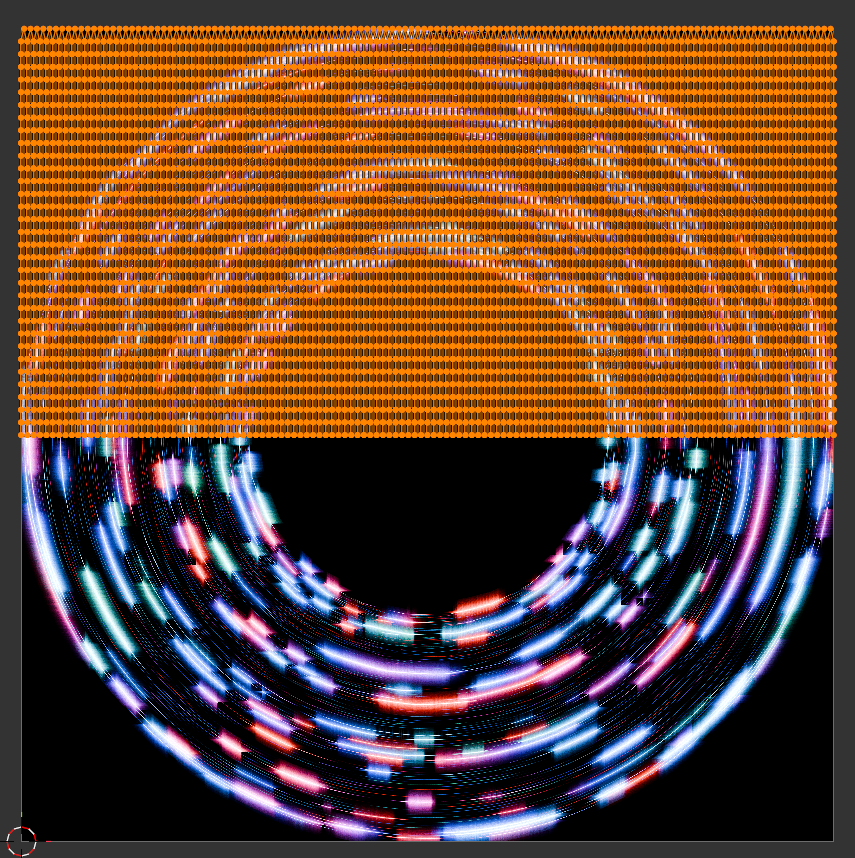
Abstract image within a circle

Of course, a new UV map is required:

By unwrapping the hemisphere model, we can create a closer UV map..
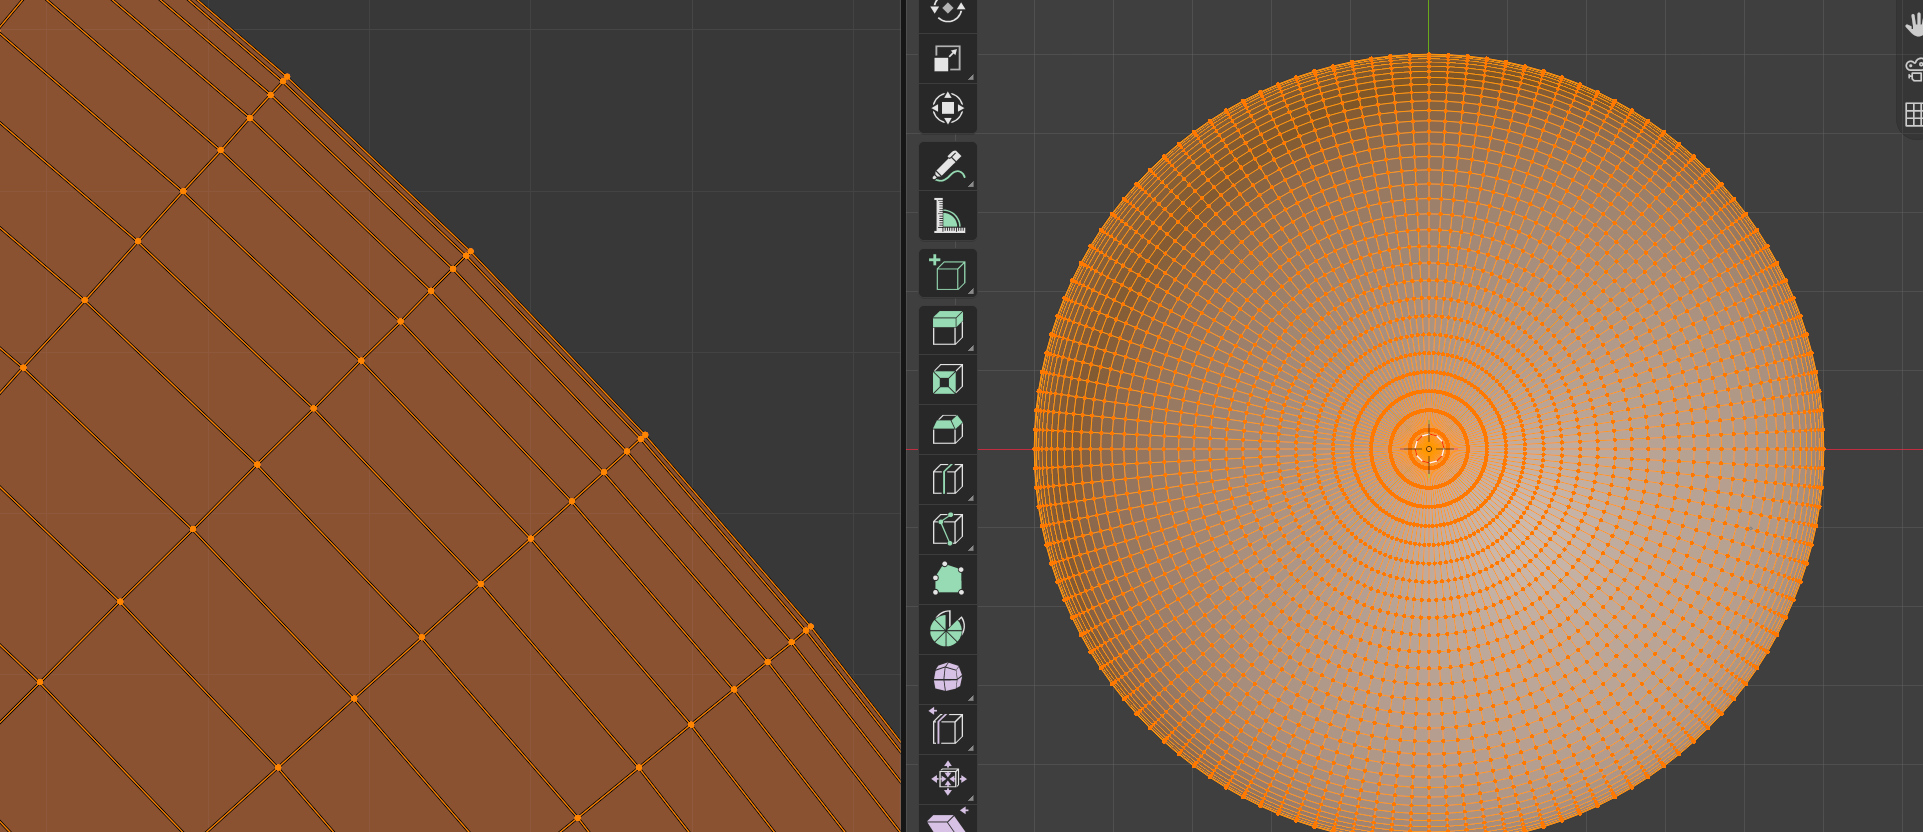
But the rings toward the edges get closer together, and this causes distortion at the edges of the hemisphere..
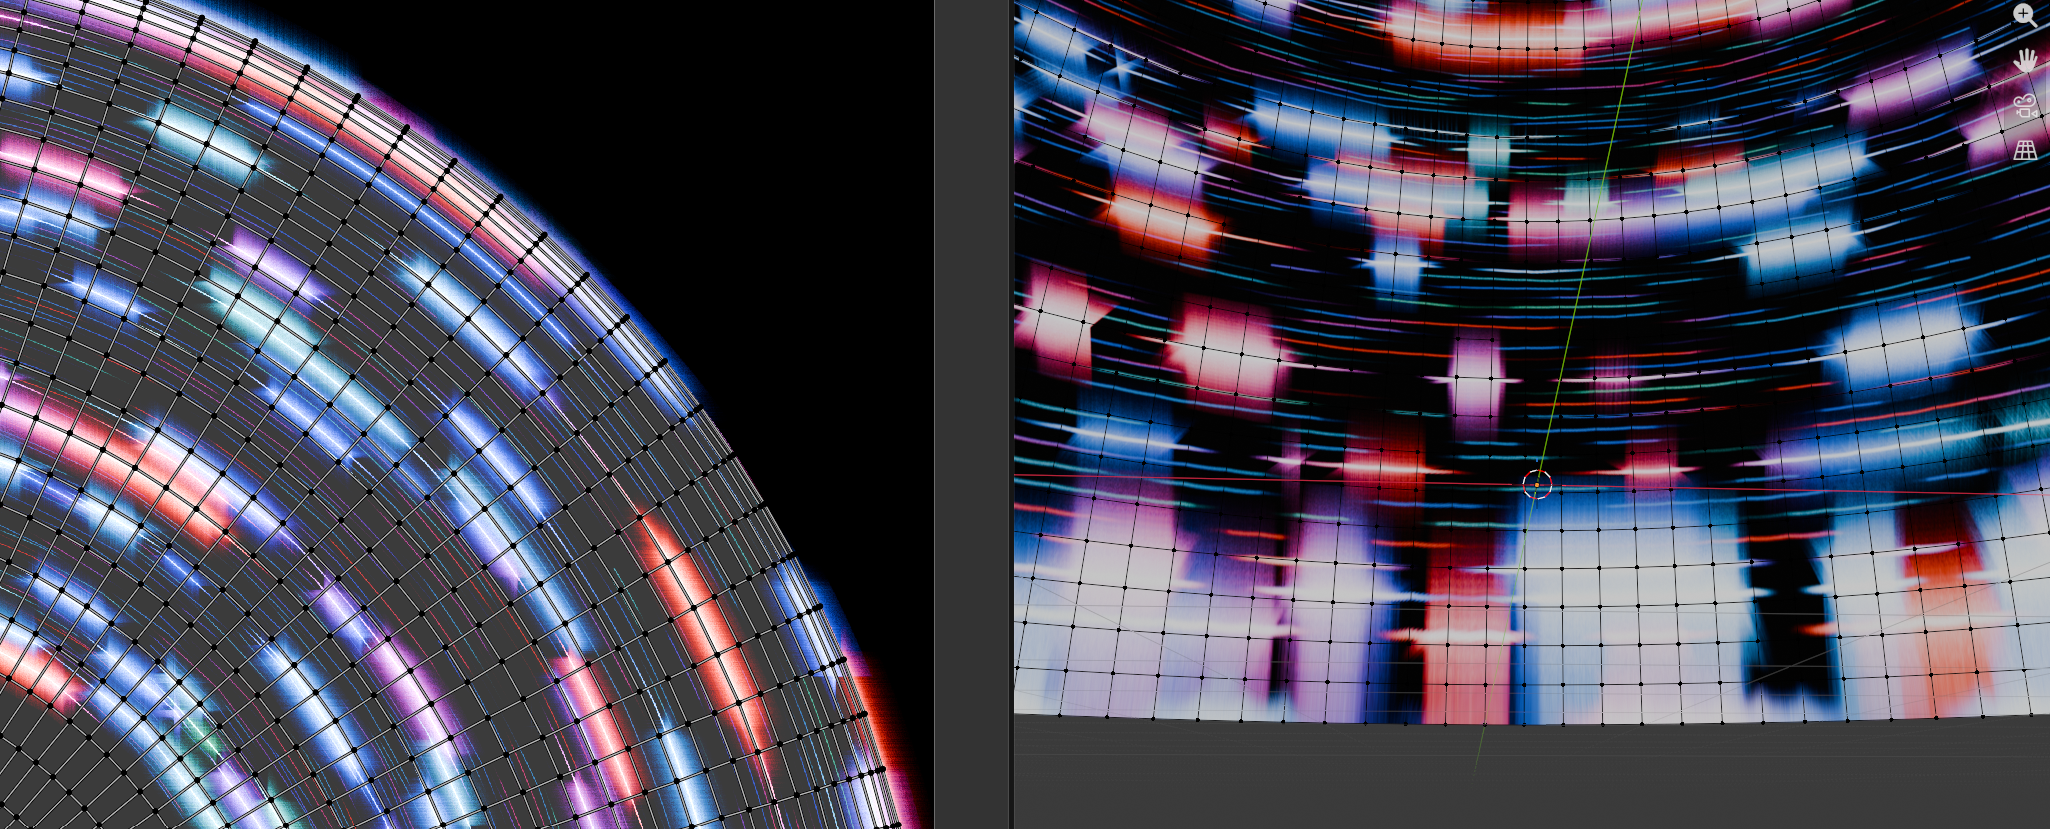
After giving up on getting Gemini to help me extract a proper map from a UV hemisphere, I asked Gemini to write me a python script with 3 parts:

  1. Create a flat circle with equally spaced rings
  2. Unwrap the model to get a lovely UV map
  3. Reposition the vertices of the circle to form the hemisphere.

It worked! And just look at the spacing on this lovely UV map…
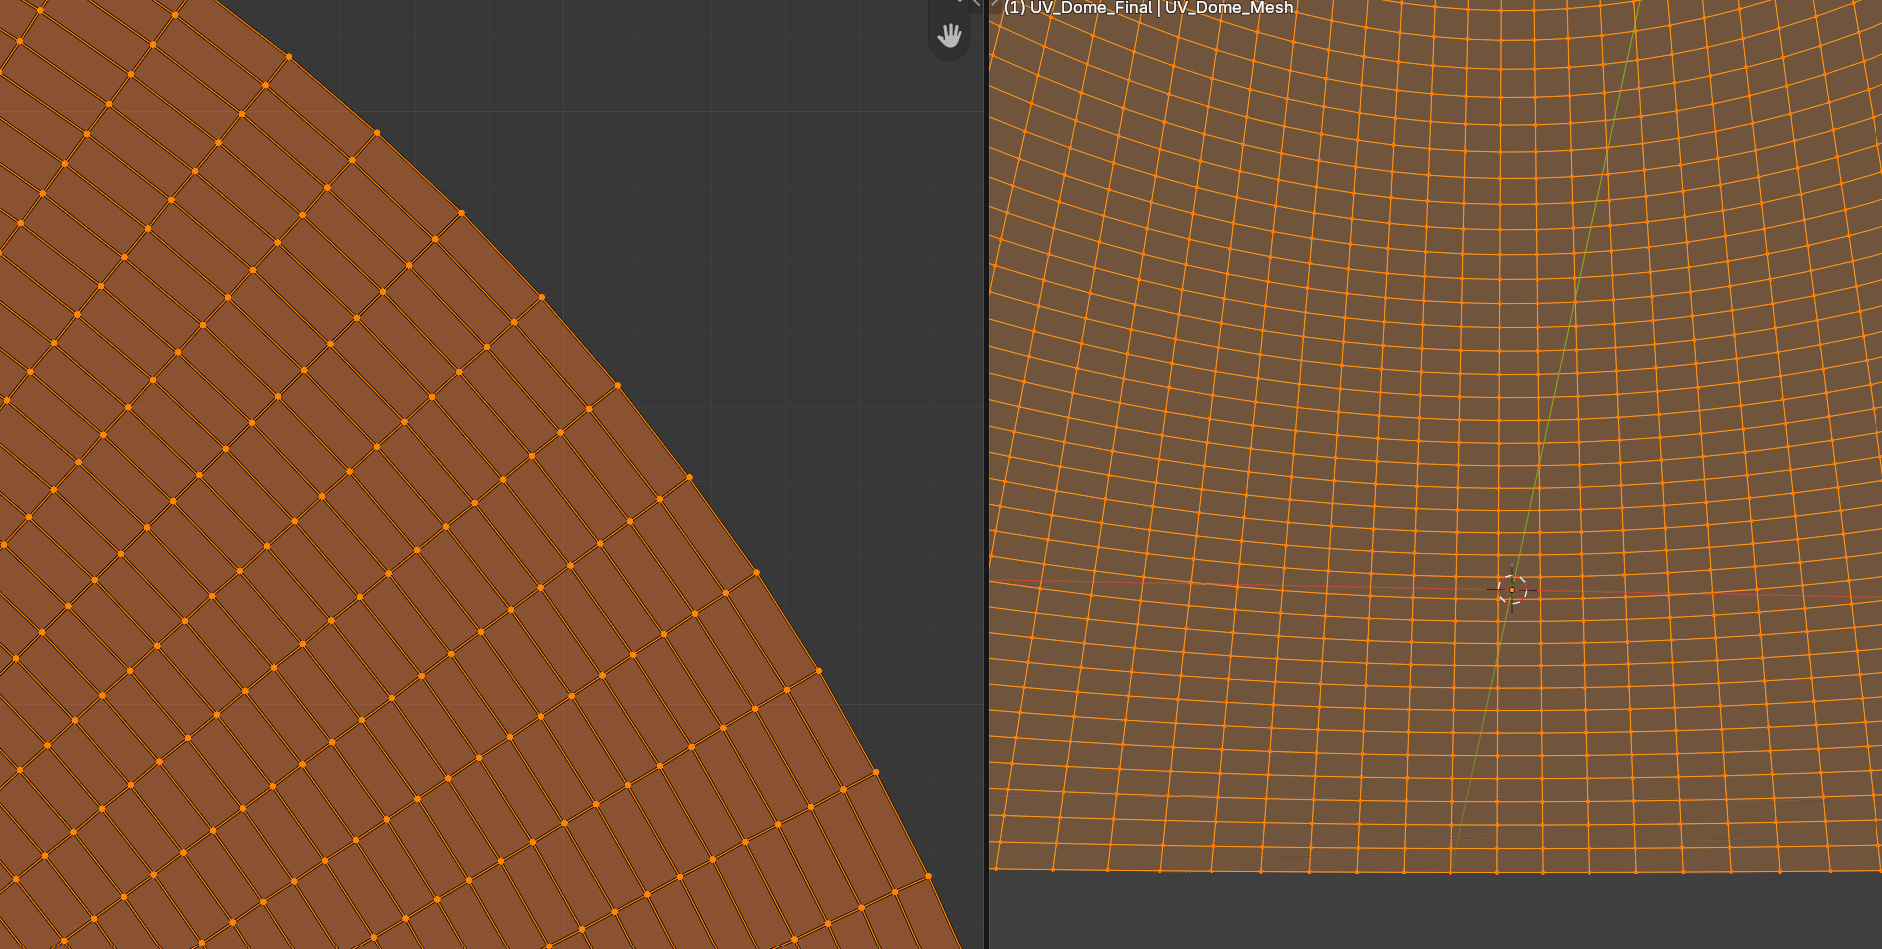
And the same image texture applied.. just look at those edges, they are true!
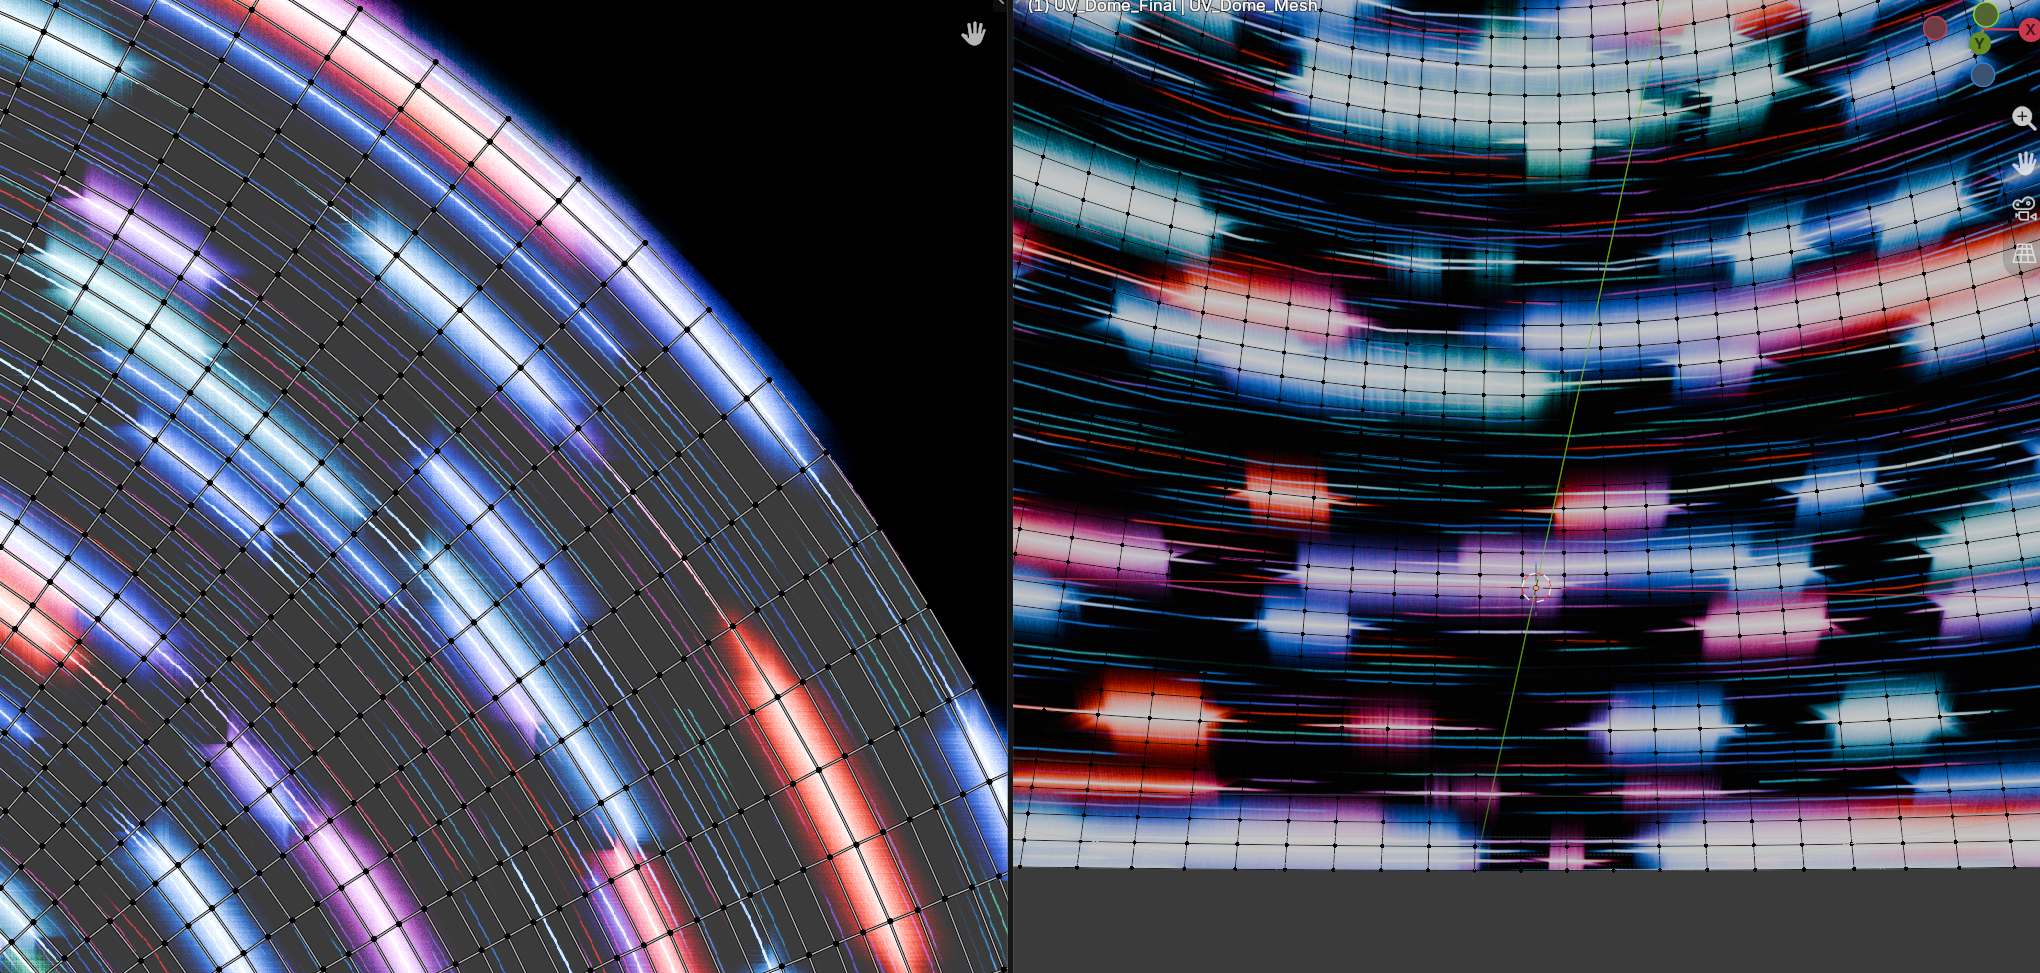
The script can be downloaded here: UV_Dome_Generator_for_Good_UVmap.py

For the script, example blend file, an exported fbx model, and summaries of the method and the several wrong turns it took before I thought to make a circle first, go to https://github.com/waystar/Blender-UV-dome-generator.
Stellarium remote fun

I LOVE open source software! 

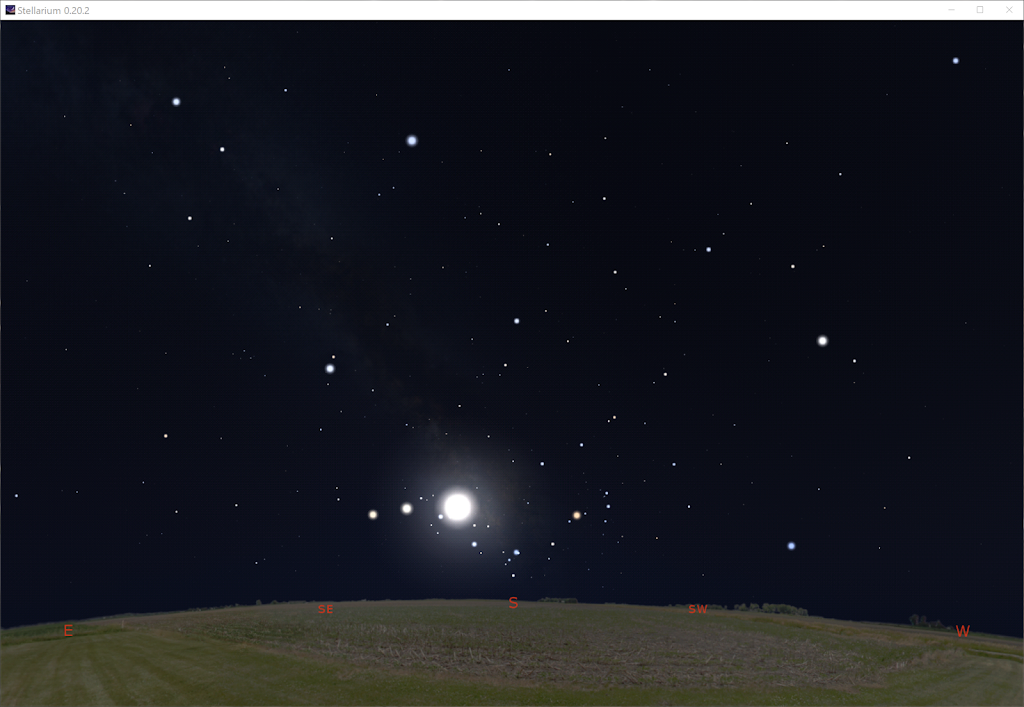
Stellarium sky

Stellarium is one of the top open source software packages for desktop sky viewing. Since I won’t be presenting shows in a physical planetarium any time soon, I figured I should work out how to present better online.

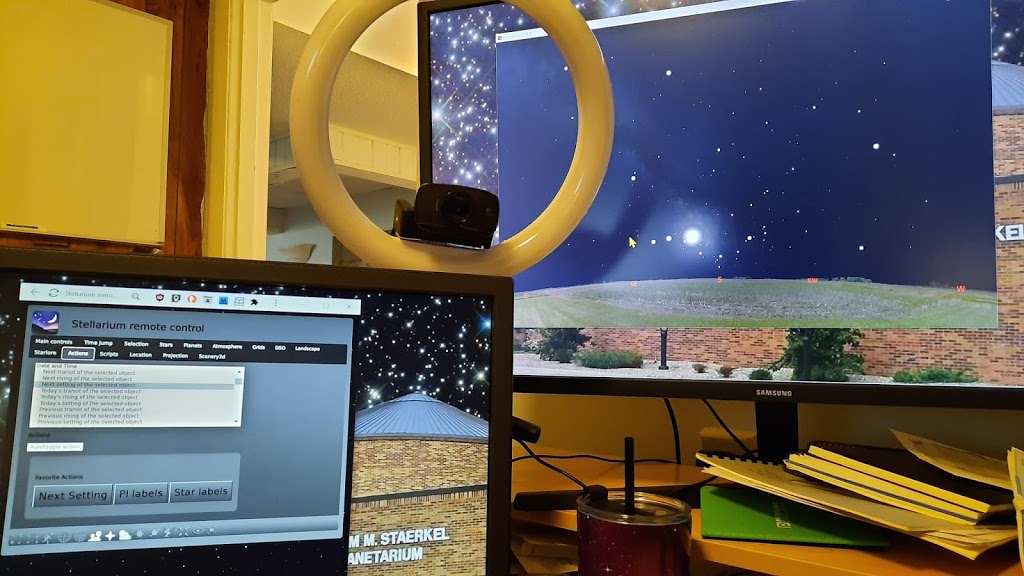
Stellarium has a remote web interface plugin that is pretty easy to set up.  So I’m using my giant monitor for presentation and my little monitor for controls and for programming.

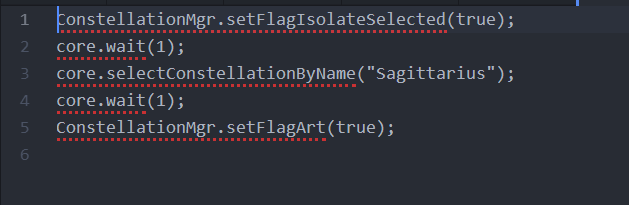
I’m clumsy with the on-screen menus, so having them on a separate monitor is great! Some actions take a while to set up, so I tried a little scripting to automate some stuff.
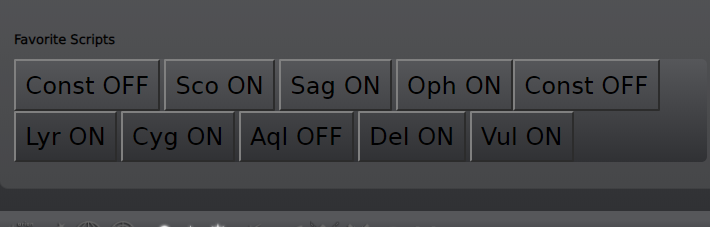
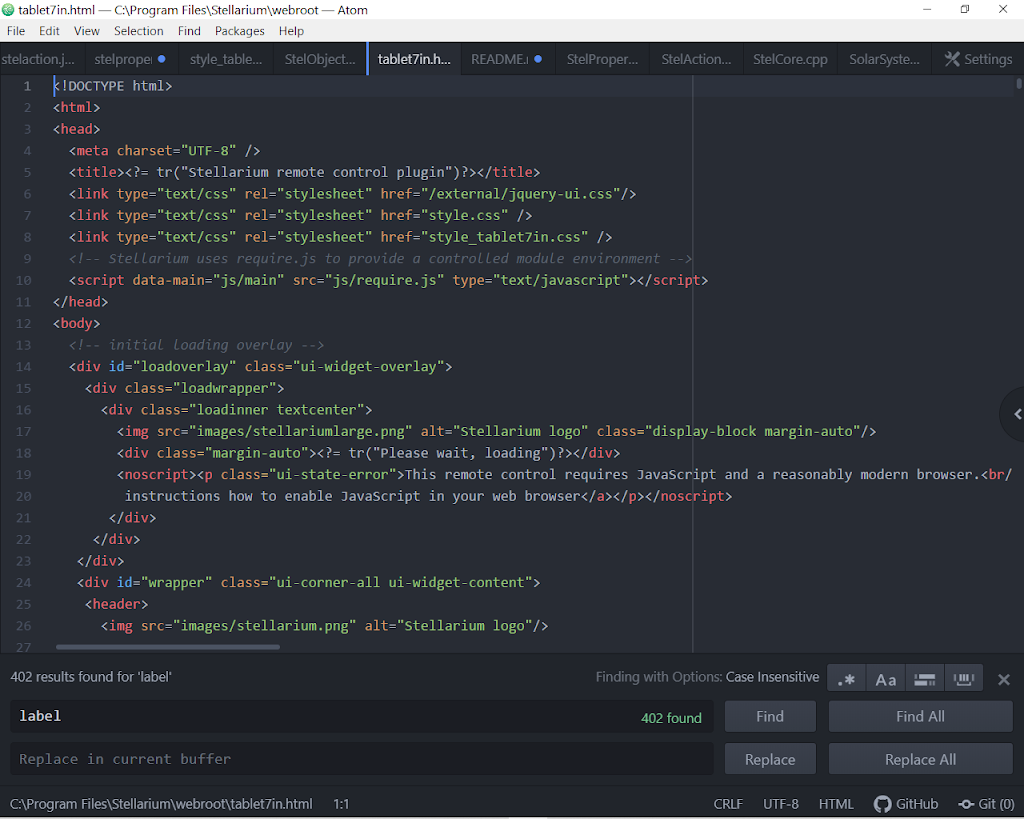
And then I decided that rather than hunting through pull-down menus for my little scripts I should make some buttons for scripts and actions.
So I started modifying the html. 
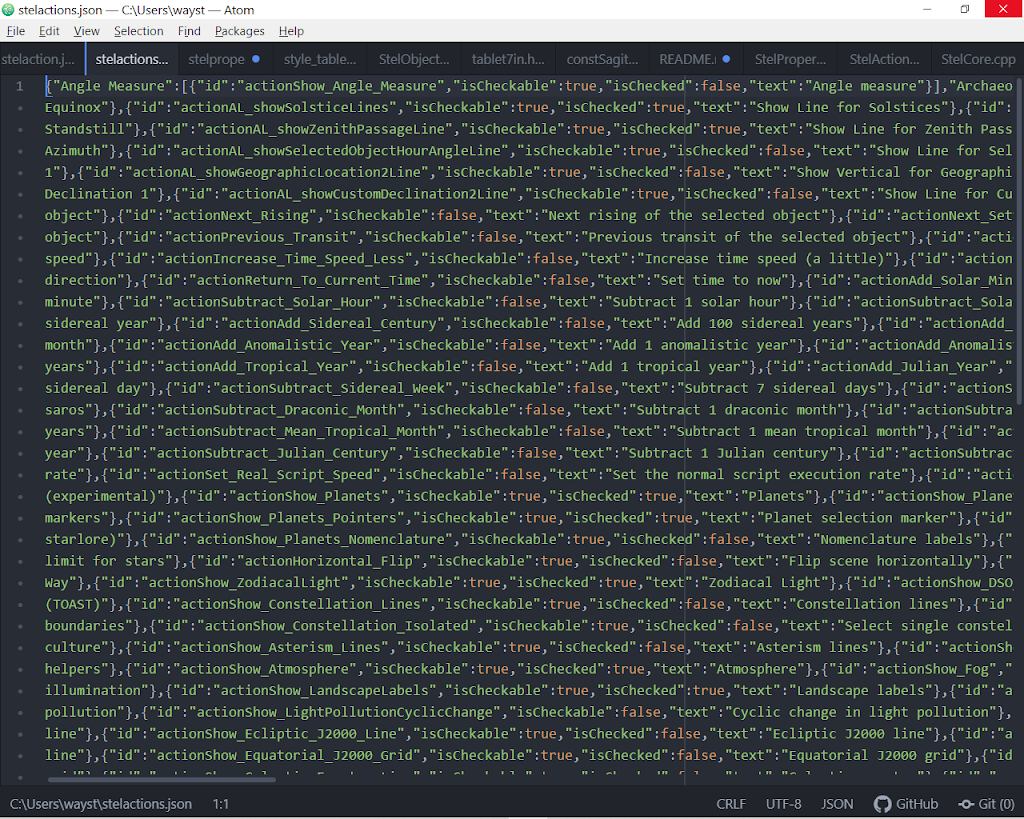
And relied on the kindness of a stranger’s blog post to expose the functionality.
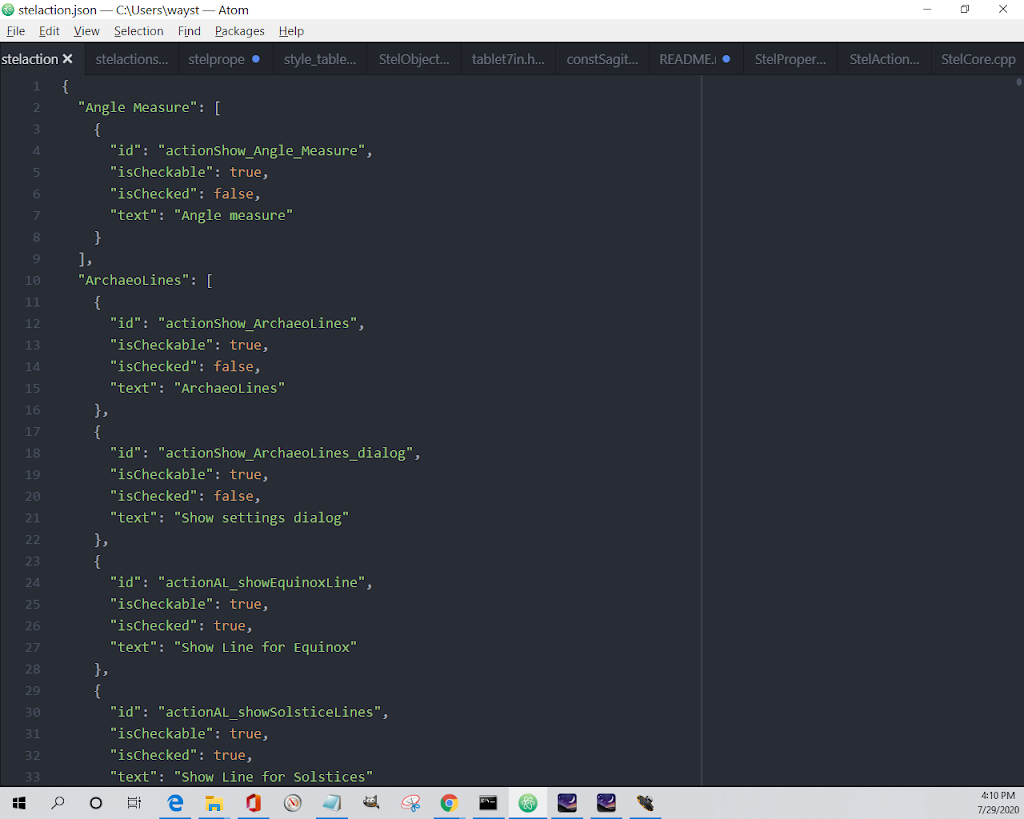
Thankfully I found an Atom package to make that json readable.
I don’t often spend enough time in any given language to get good at it. But in this effort, I’m digging into Stellarium scripting/javascript, html, and to find the right language for scripting actions I found myself searching the source code for the project itself.

Hugin and Blender Eevee Fulldome Master Update

It worked!
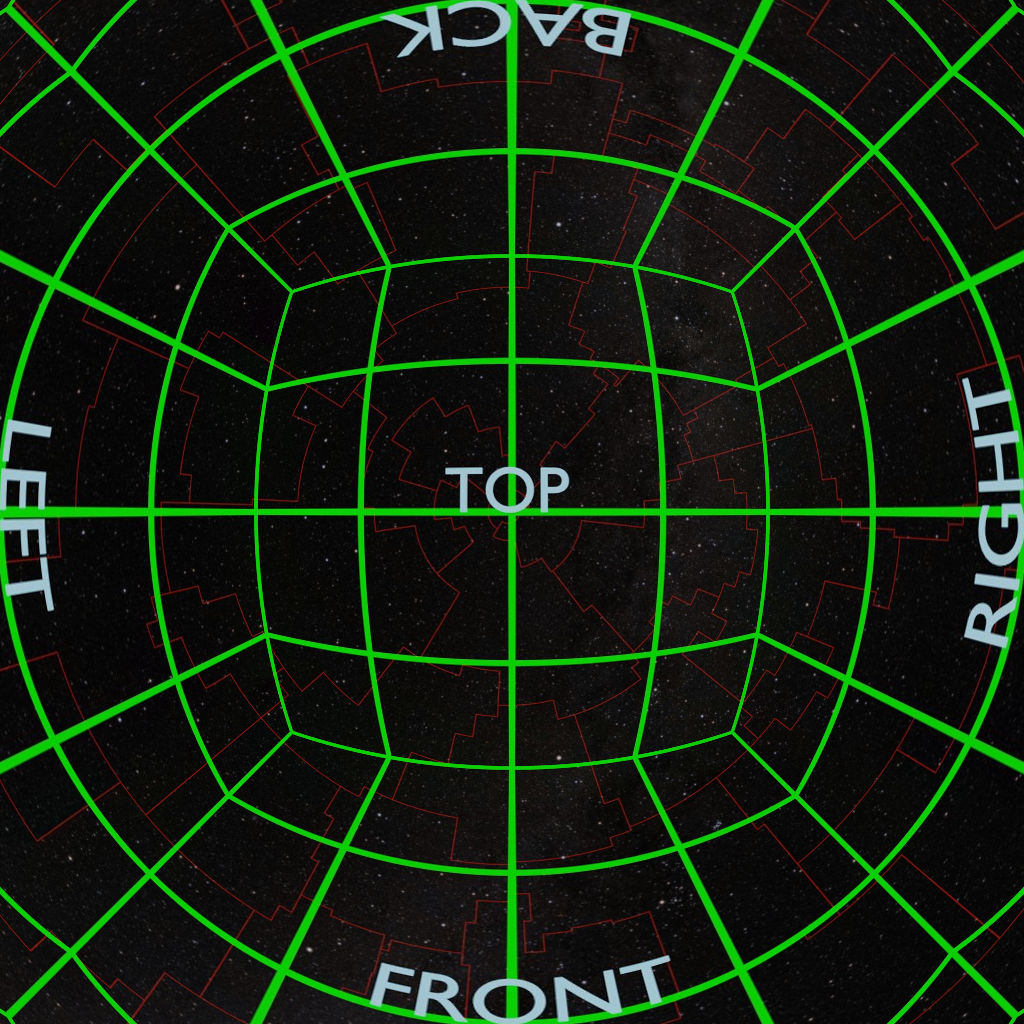
Recall that I was testing to output 6 cube faces from Blender 2.8 using the super-fast Eevee render engine. Instead of 90 degrees, they covered 110 degrees so that Hugin would blend the edges.

It worked originally BUT there was a problem with the enblend program that put strange artifacts when run from the command line. Turns out that there is a newer way to use Hugin from the command line, a program called hugin_executor -BUT it didn’t allow for specifying input filenames from the command line.
Sooooo… I set up the script in Linux to copy the 6 cube sides to a scratch folder and rename them to the filename in the PTO file. Then it blends the 6 images into a fulldome master file and moves onto the next frame number in the sequence. 
My script needs cleaned up a bit and it isn’t pretty to look at. But it works and I can set it going and walk away from it while it does all the work. 

Now I need to test it with a variety of scene types to see how the seams turn out. Even if I can’t use this for all cases, it will still work for enough situations to have made this worth my while.

I’ll keep updating on this, and will share the scripts and make a tutorial or how-to if there is enough interest.

Testing with Blender and Hugin

Blender 2.80 features the superfast render engine Eevee, but there’s no fisheye camera as there is with the Cycles render engine. So it’s back to the old-fashioned method of rendering out panels to be stitched together.

Instead of rendering out 90 degree panels, I’m trying 110 degree panels and then using Hugin to stitch with blending. To reduce nastiness of seams, at least making them less obvious.

One frame at a time works great, but scripting it to run from command line and iterate through the frames isn’t working so great. Yet. There is a newer Hugin command-line program called hugin_executor.exe that works exactly like stitching from the gui, but I haven’t figured out a way to pass along different input files than the ones saved to my custom PTO file. I might try a script that copies each set into a scratch folder and renames them into what the PTO file wants, then renames the result and puts into a results folder.

Blender
Hugin