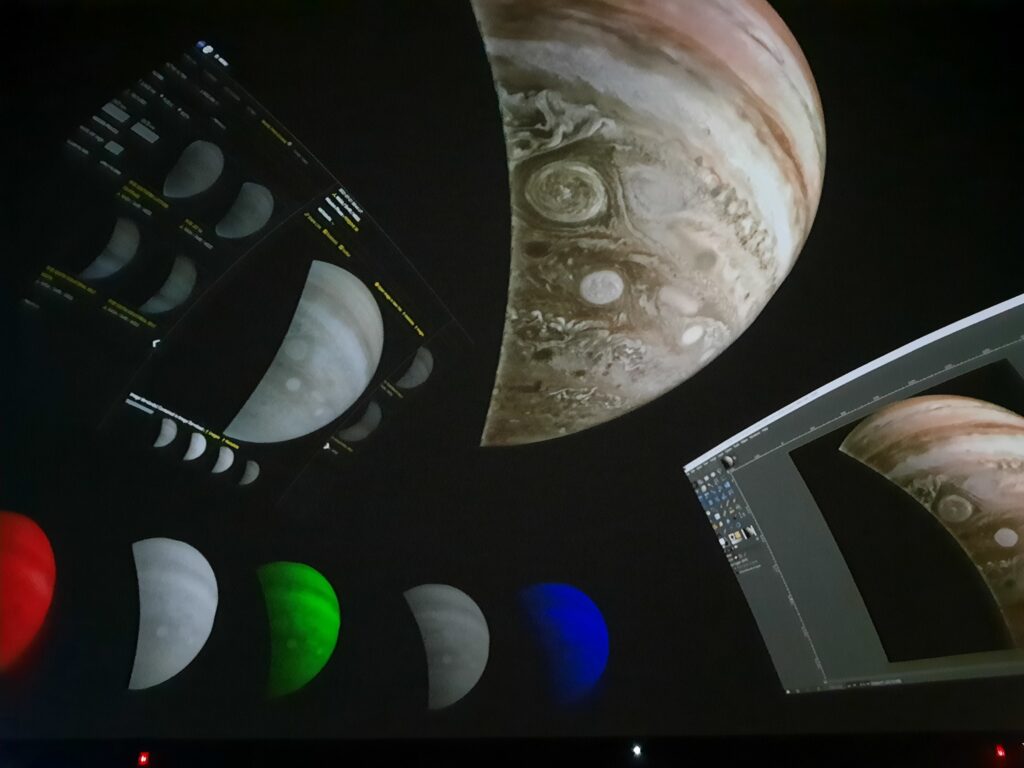
A few weeks ago, I watched this video, produced by the Griffith Observatory a year ago:
As in the demonstration video I watched, I used Gimp. Of course I could have used Krita, but Gimp is my go-to since I’m so familiar with it.
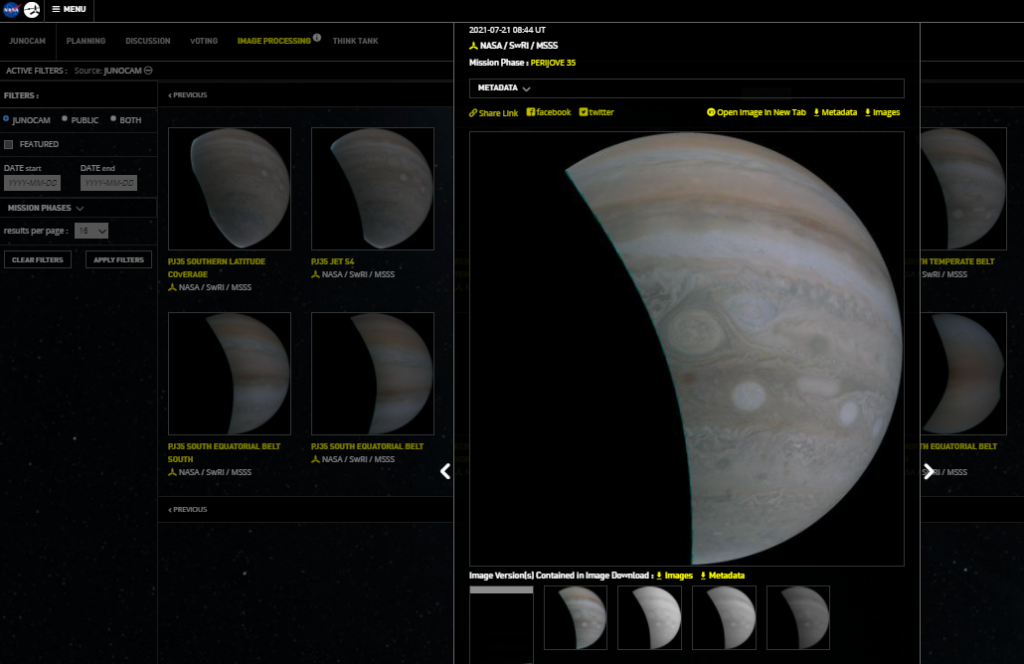
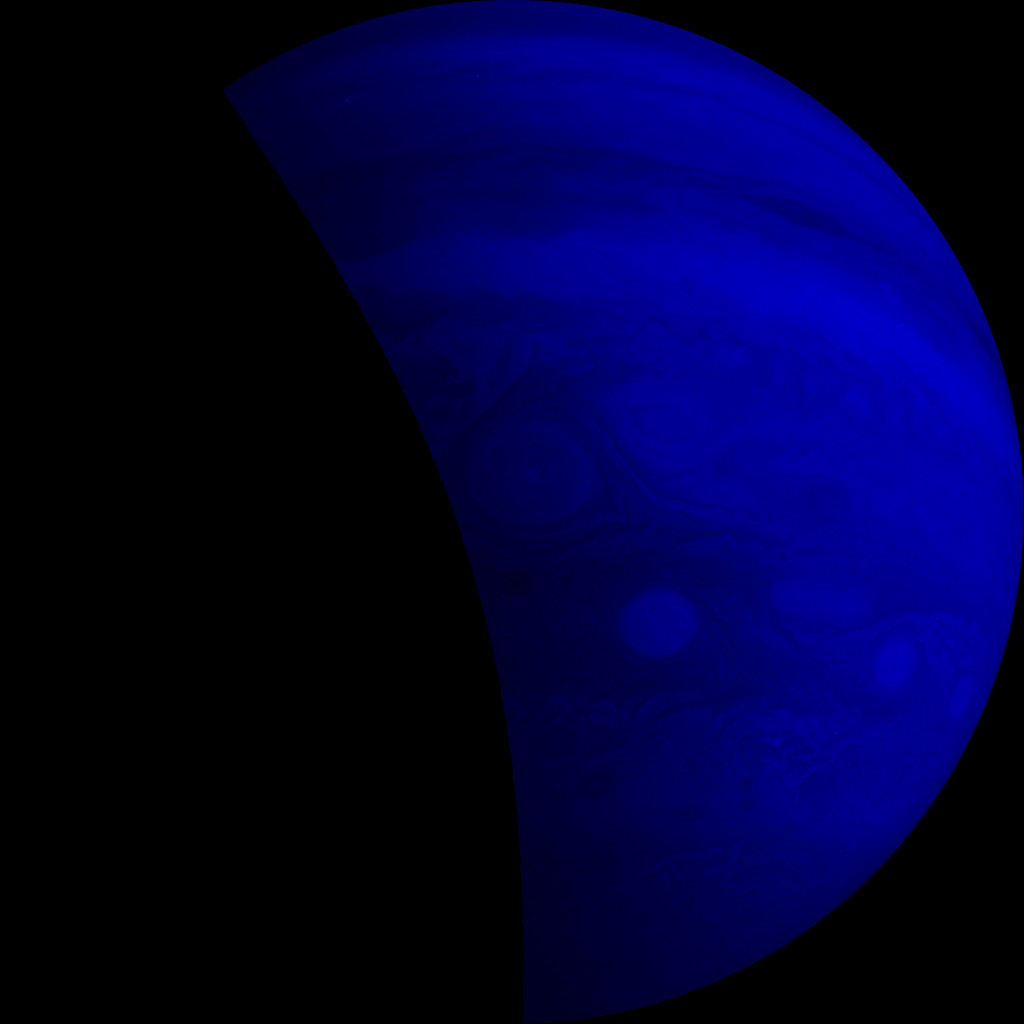
First I downloaded set of images from 2021-07-21 Perijove 35:
https://www.missionjuno.swri.edu/junocam/processing?id=11074
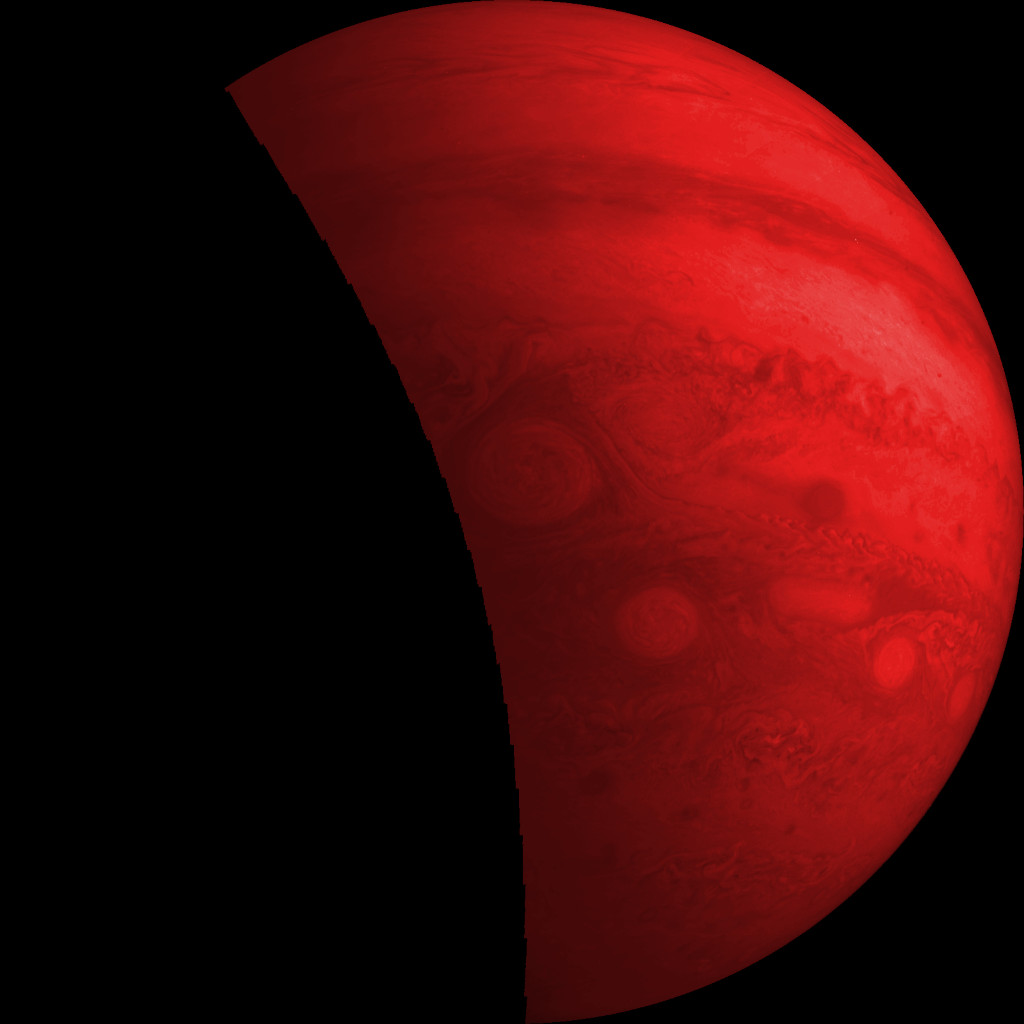
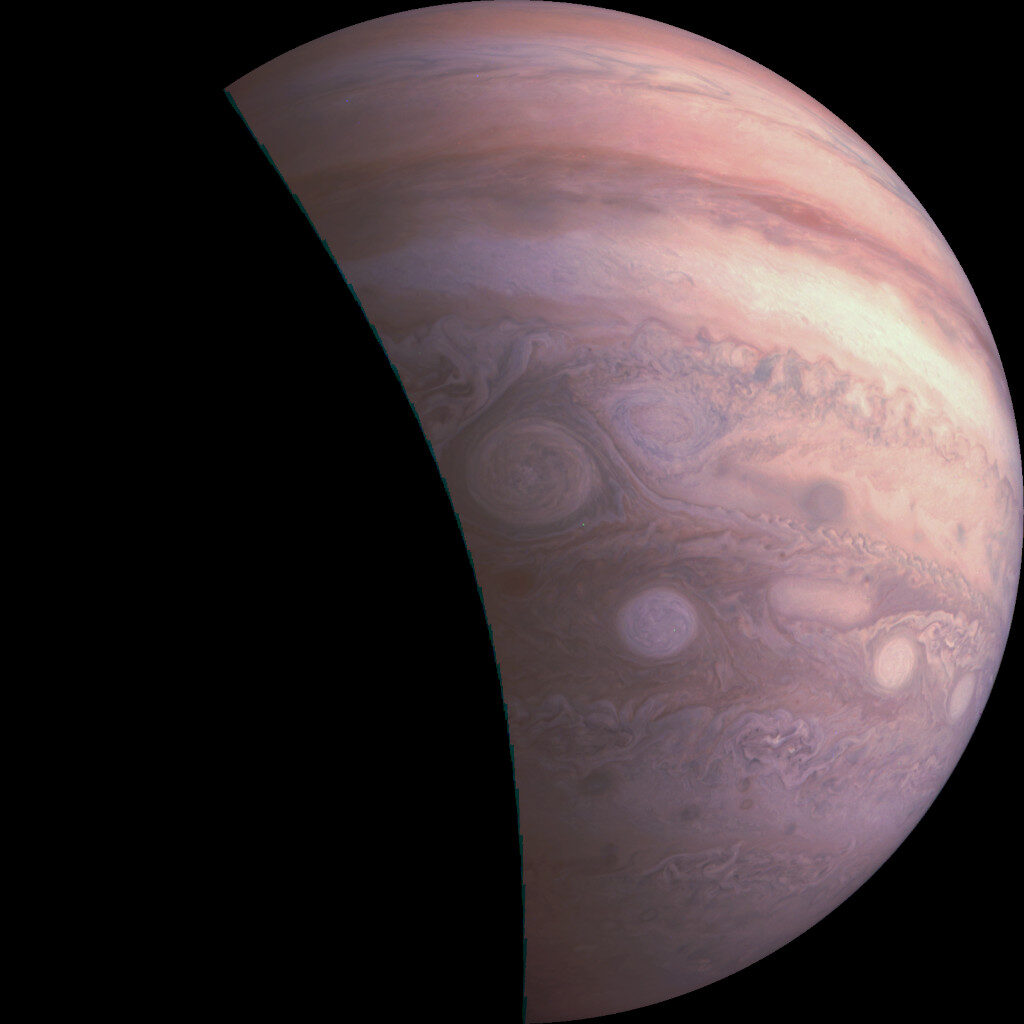
I opened the three color PNGs as layers and colorized them accordingly.
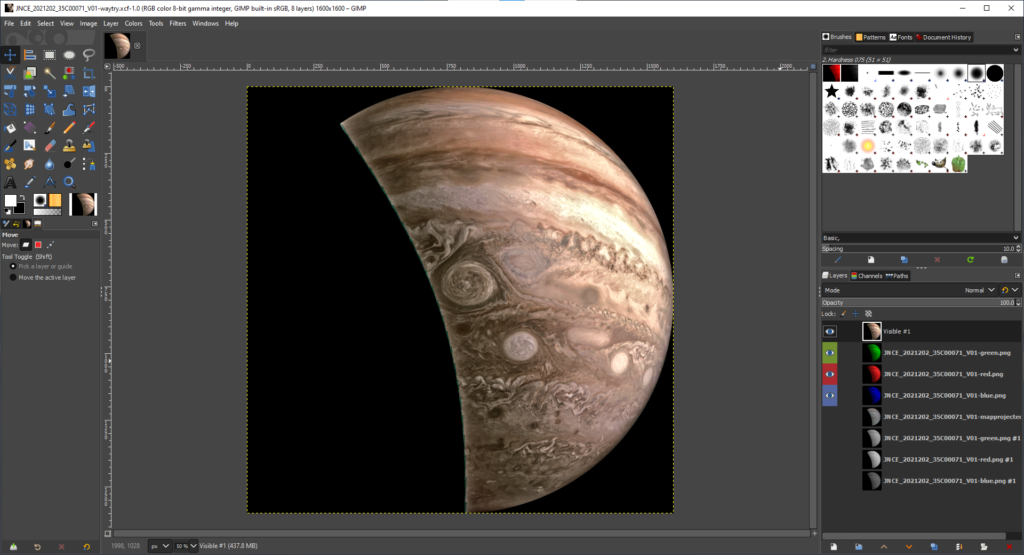
Then I played around with the individual layers’ brightness and contrast settings, then combined using Screen as the blend mode.

After I got the colors close to how I liked them, I used the G’Mic Tone Sharpening to bring out the detail. (https://gmic.eu/index.html)
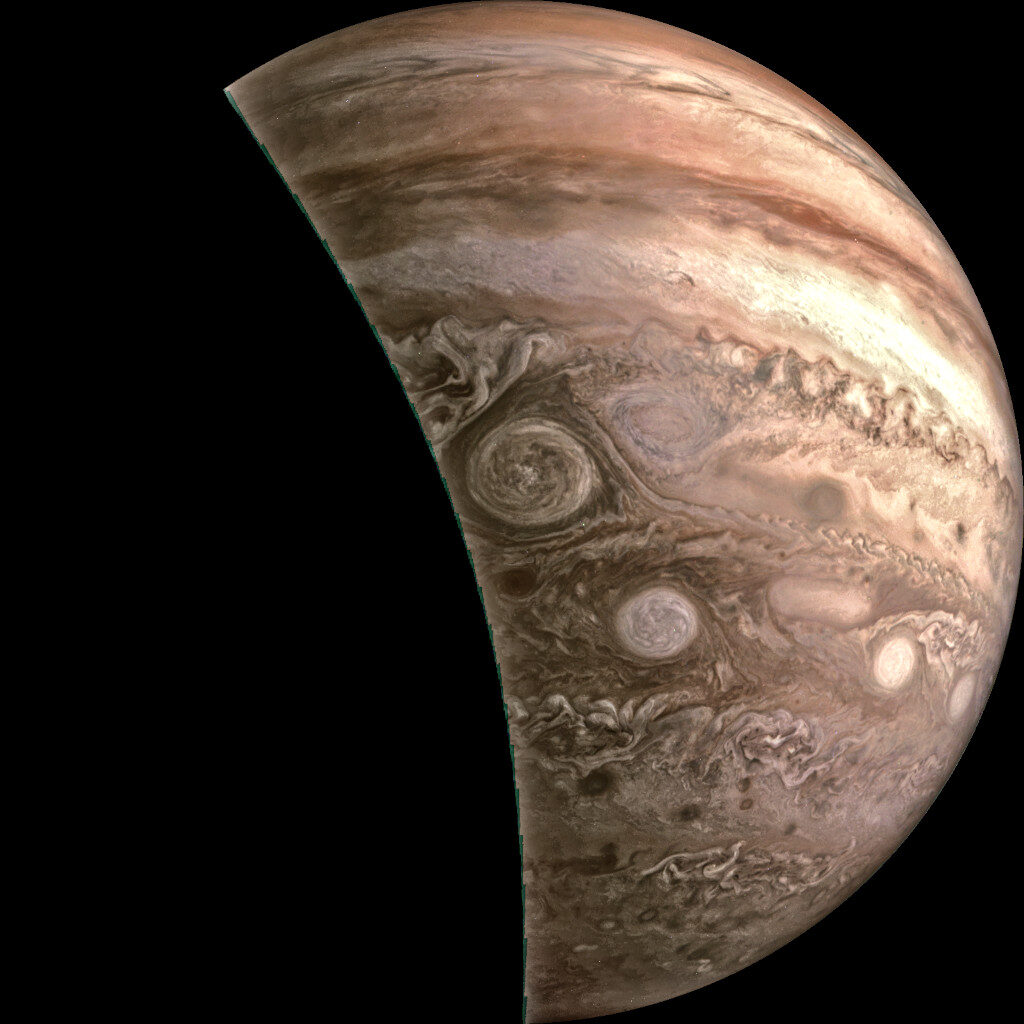
I spent very little time on it, about 25 minutes total. I’m pleased with it and look forward to showing others how to make their own.
