Generating a hemisphere model in Blender with properly spaced UVs for fisheye dome masters.
UVs are texture coordinates. An image plane 3D model would be measured in X and Y coordinates. The image texture applied to that model would be measures in U and V coordinates.
I frequently need to apply fisheye images to a virtual dome within Blender. Sometimes I’m prototyping, sometimes I’m building a scene with a dome in it, sometimes I’m splitting the dome into parts for special effects in the planetarium.
The quickest way has always been to create a UV Sphere and delete the bottom half.
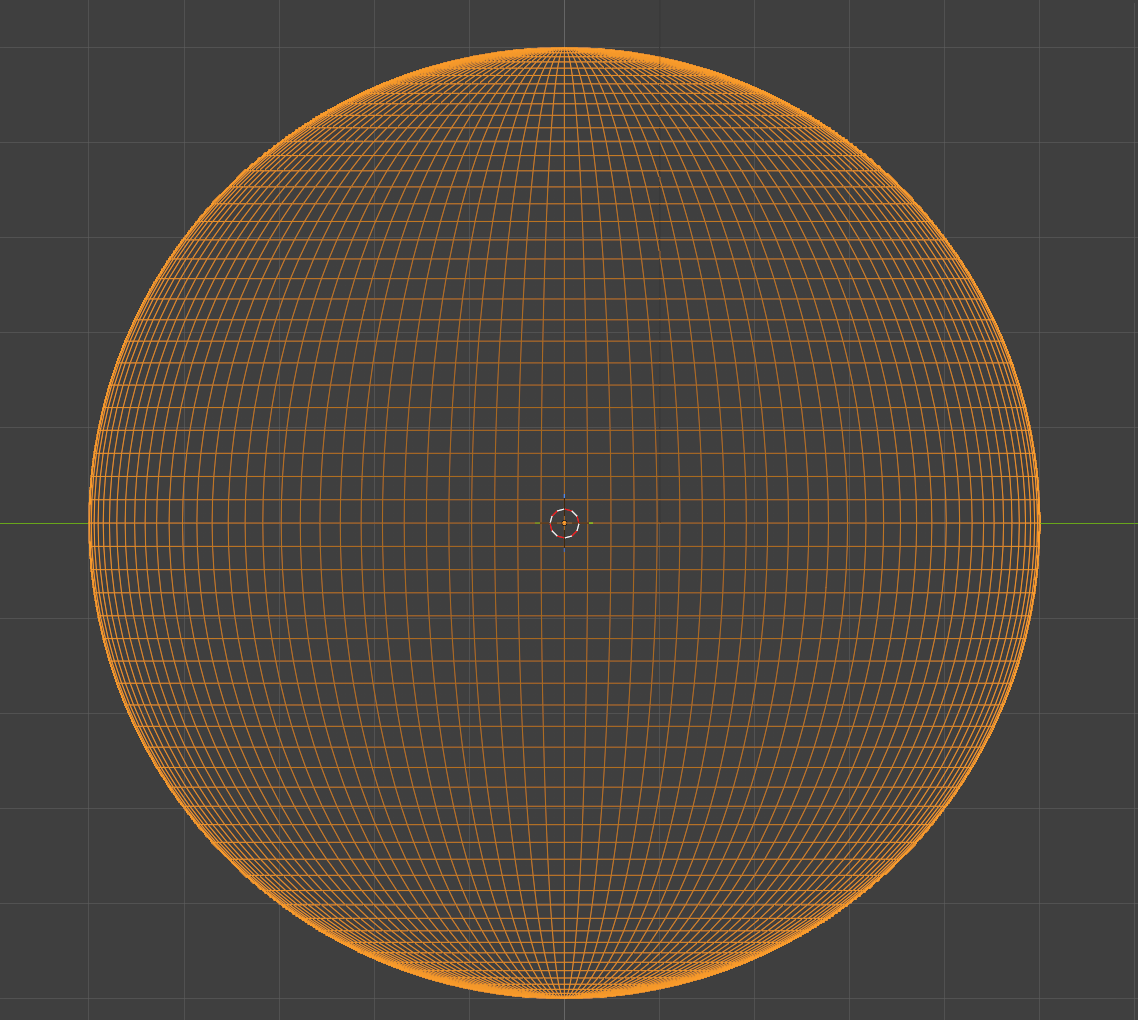
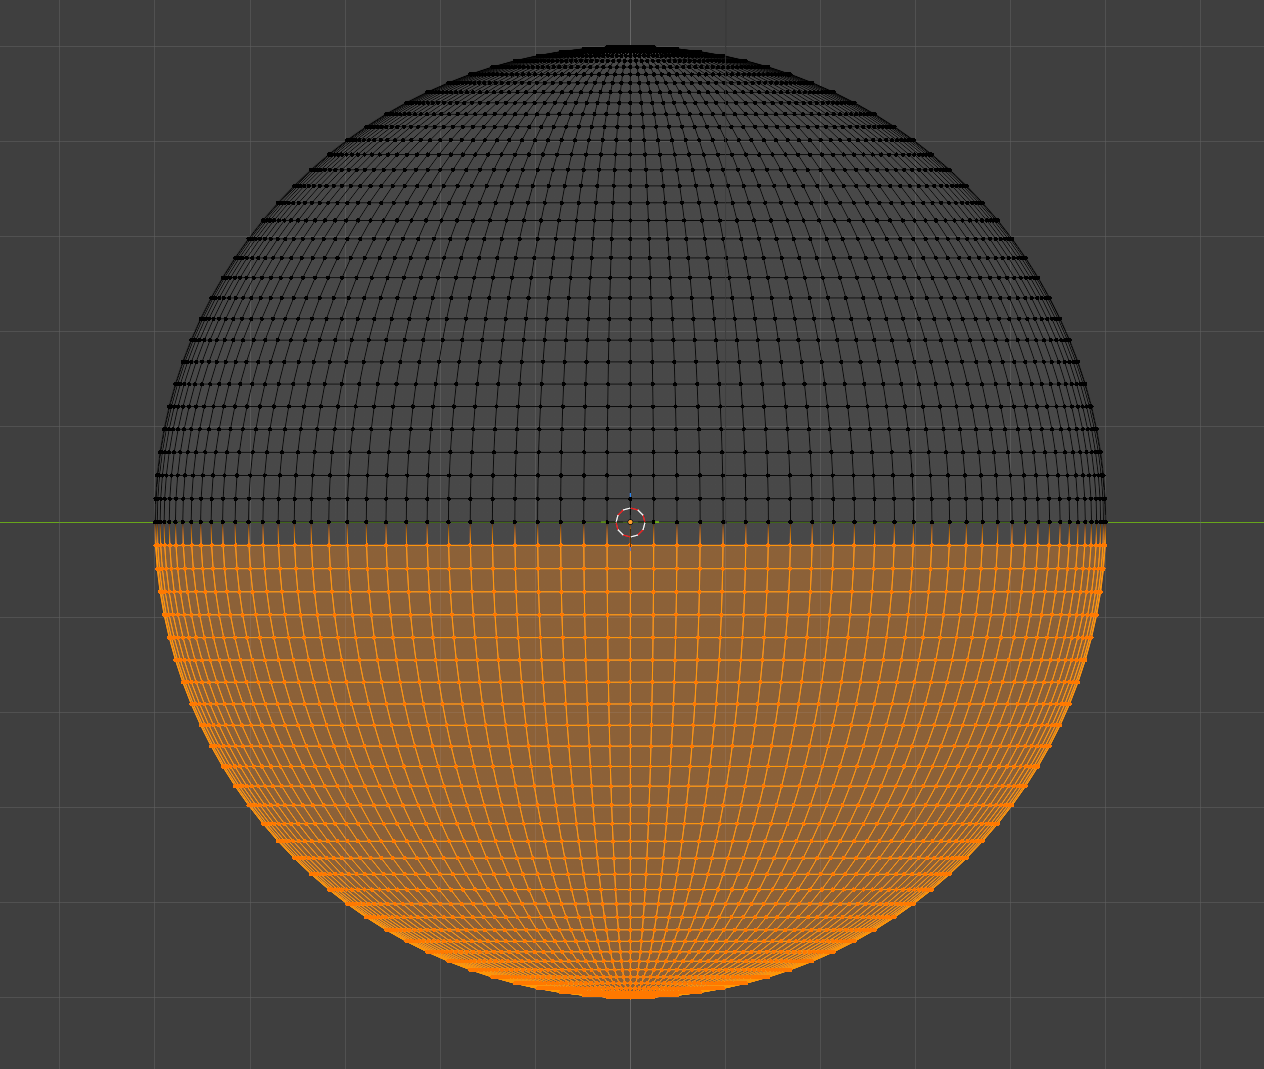
This results in a nice looking hemisphere, but we can’t apply a fisheye, since the UV map is half of what was created for the full sphere..
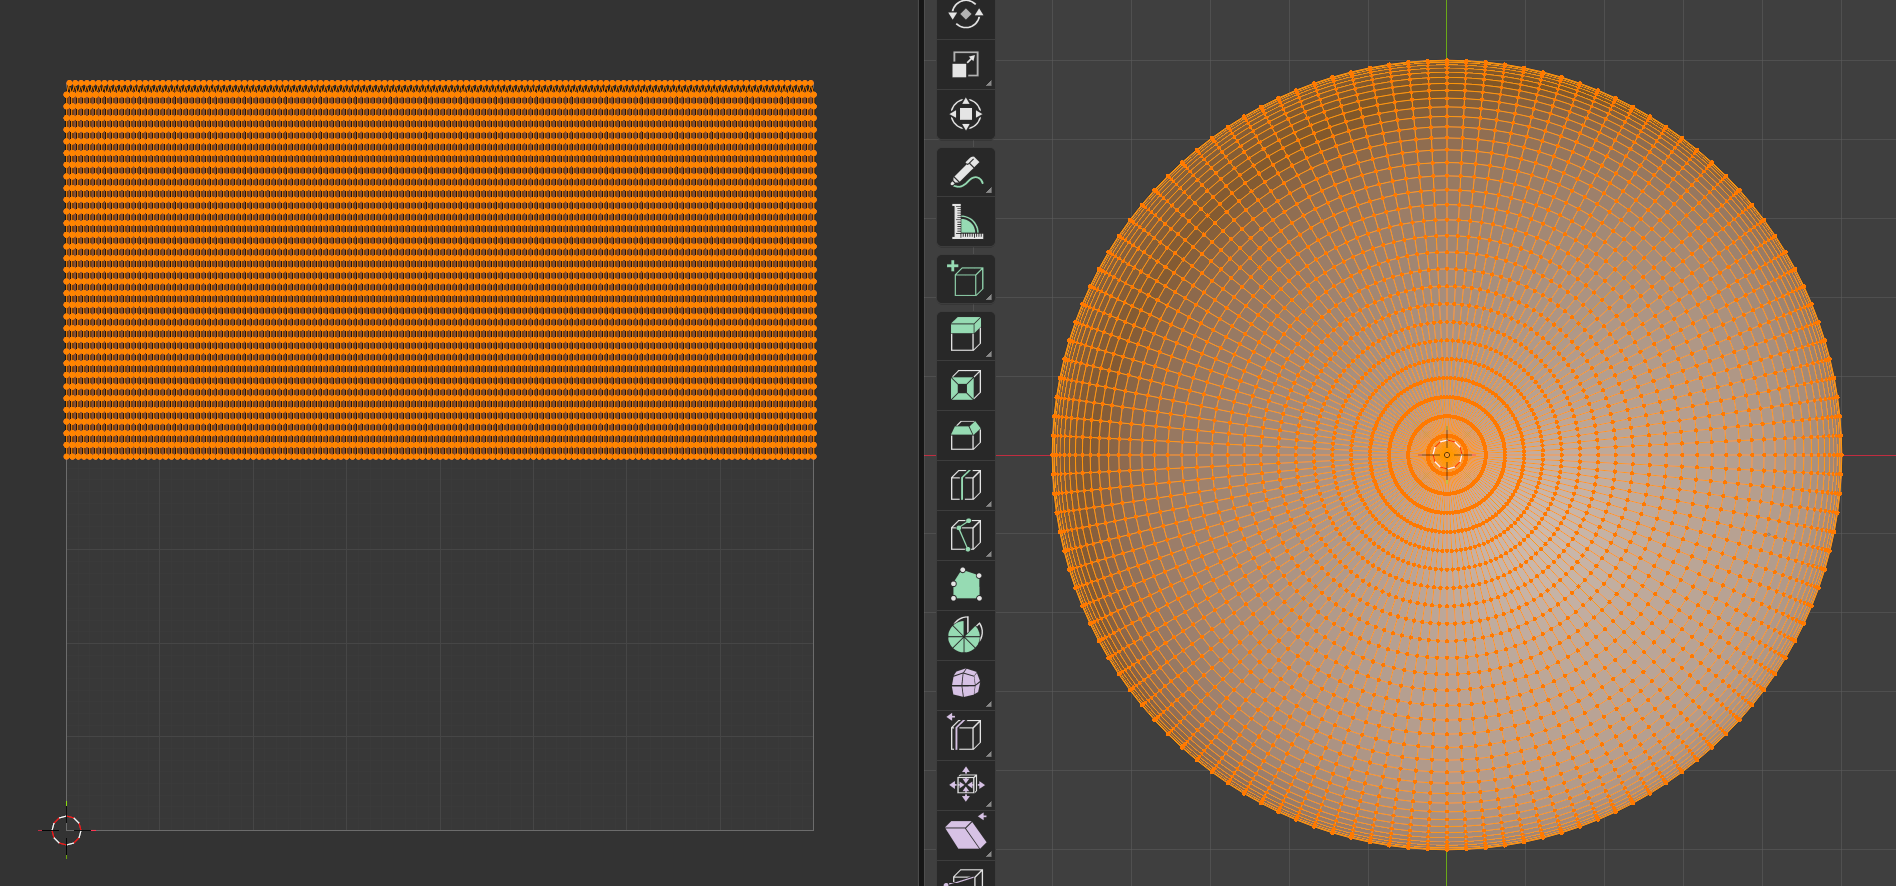
Applying an image to the map yields a fun result, but not what we want..
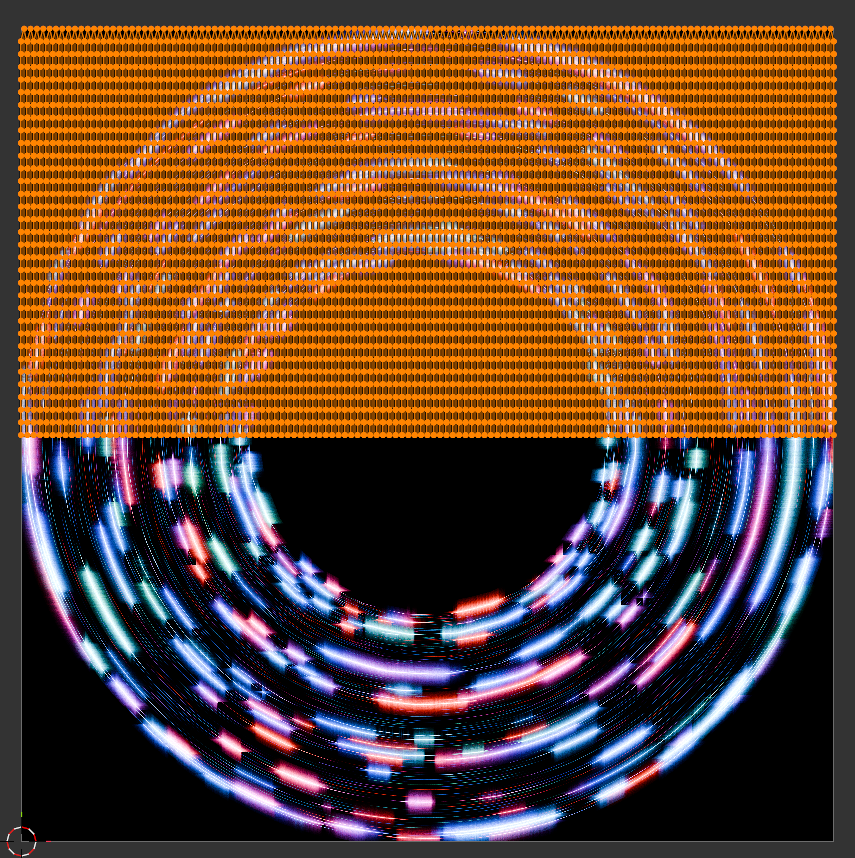
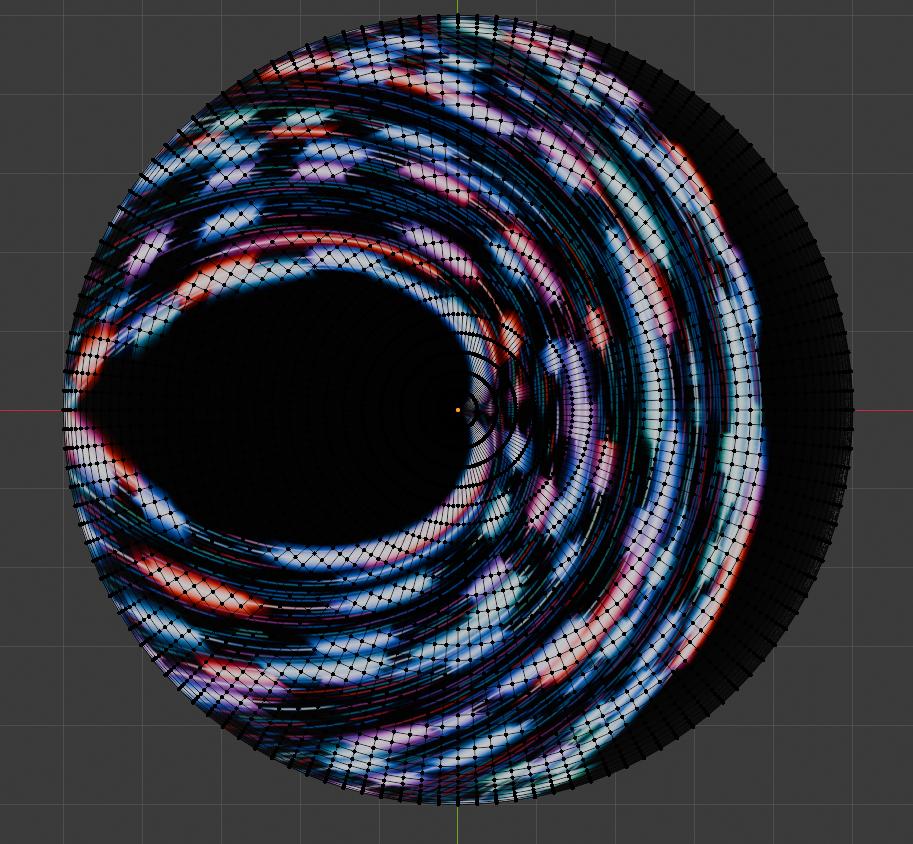
Of course, a new UV map is required:
By unwrapping the hemisphere model, we can create a closer UV map..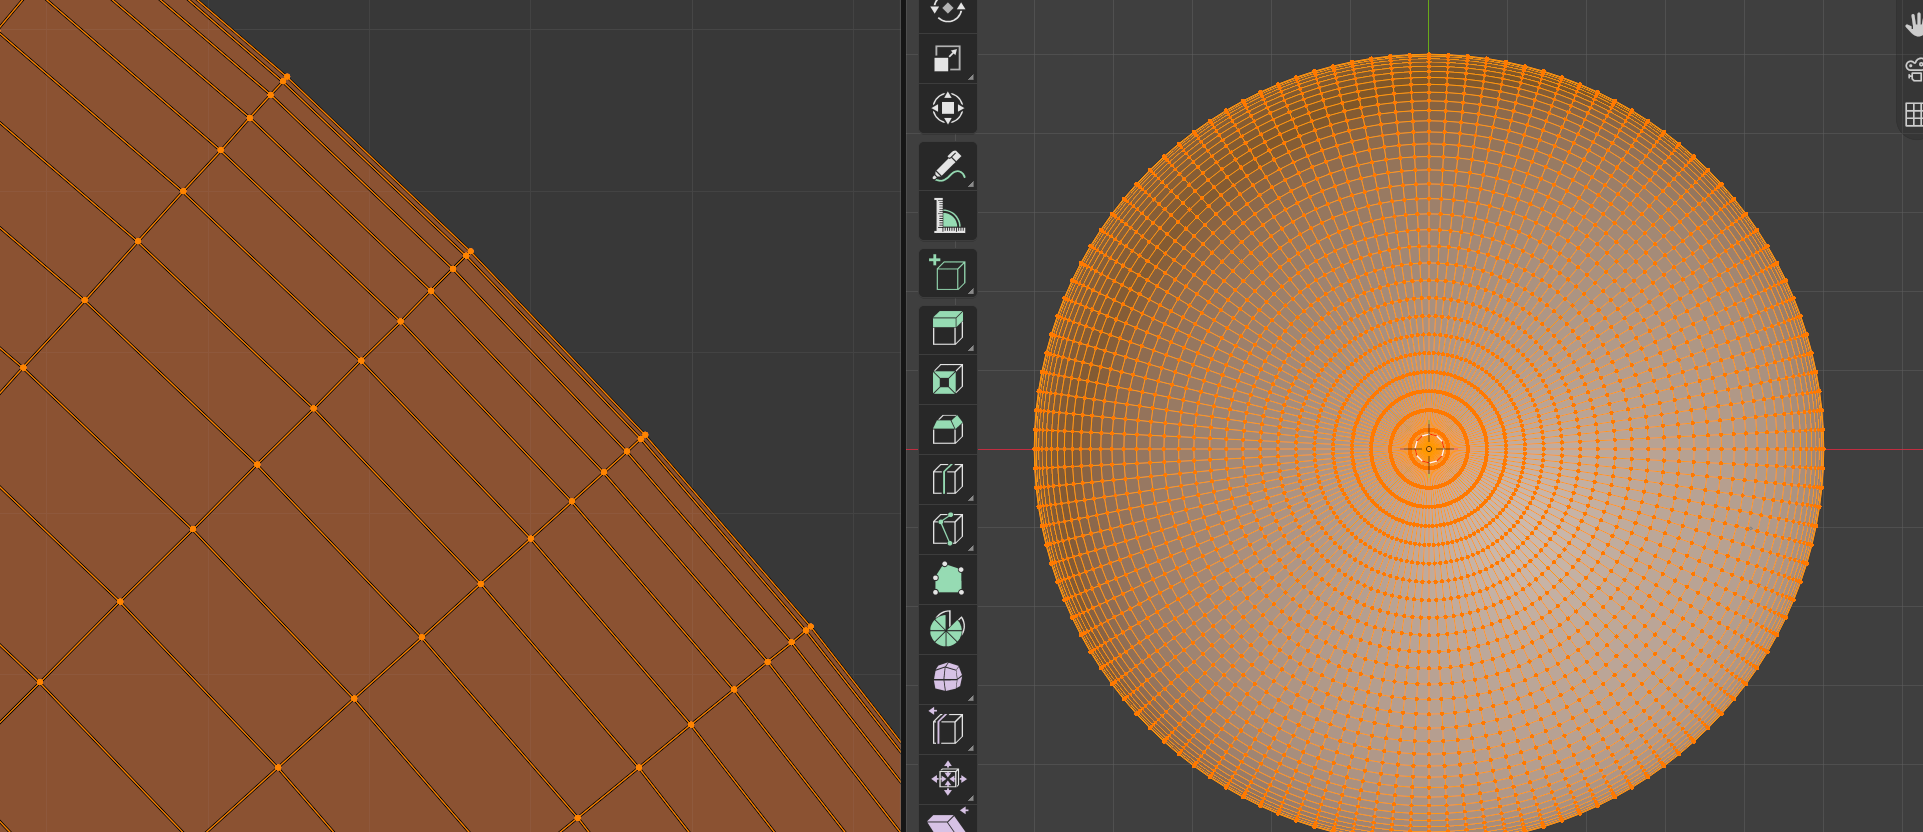
But the rings toward the edges get closer together, and this causes distortion at the edges of the hemisphere..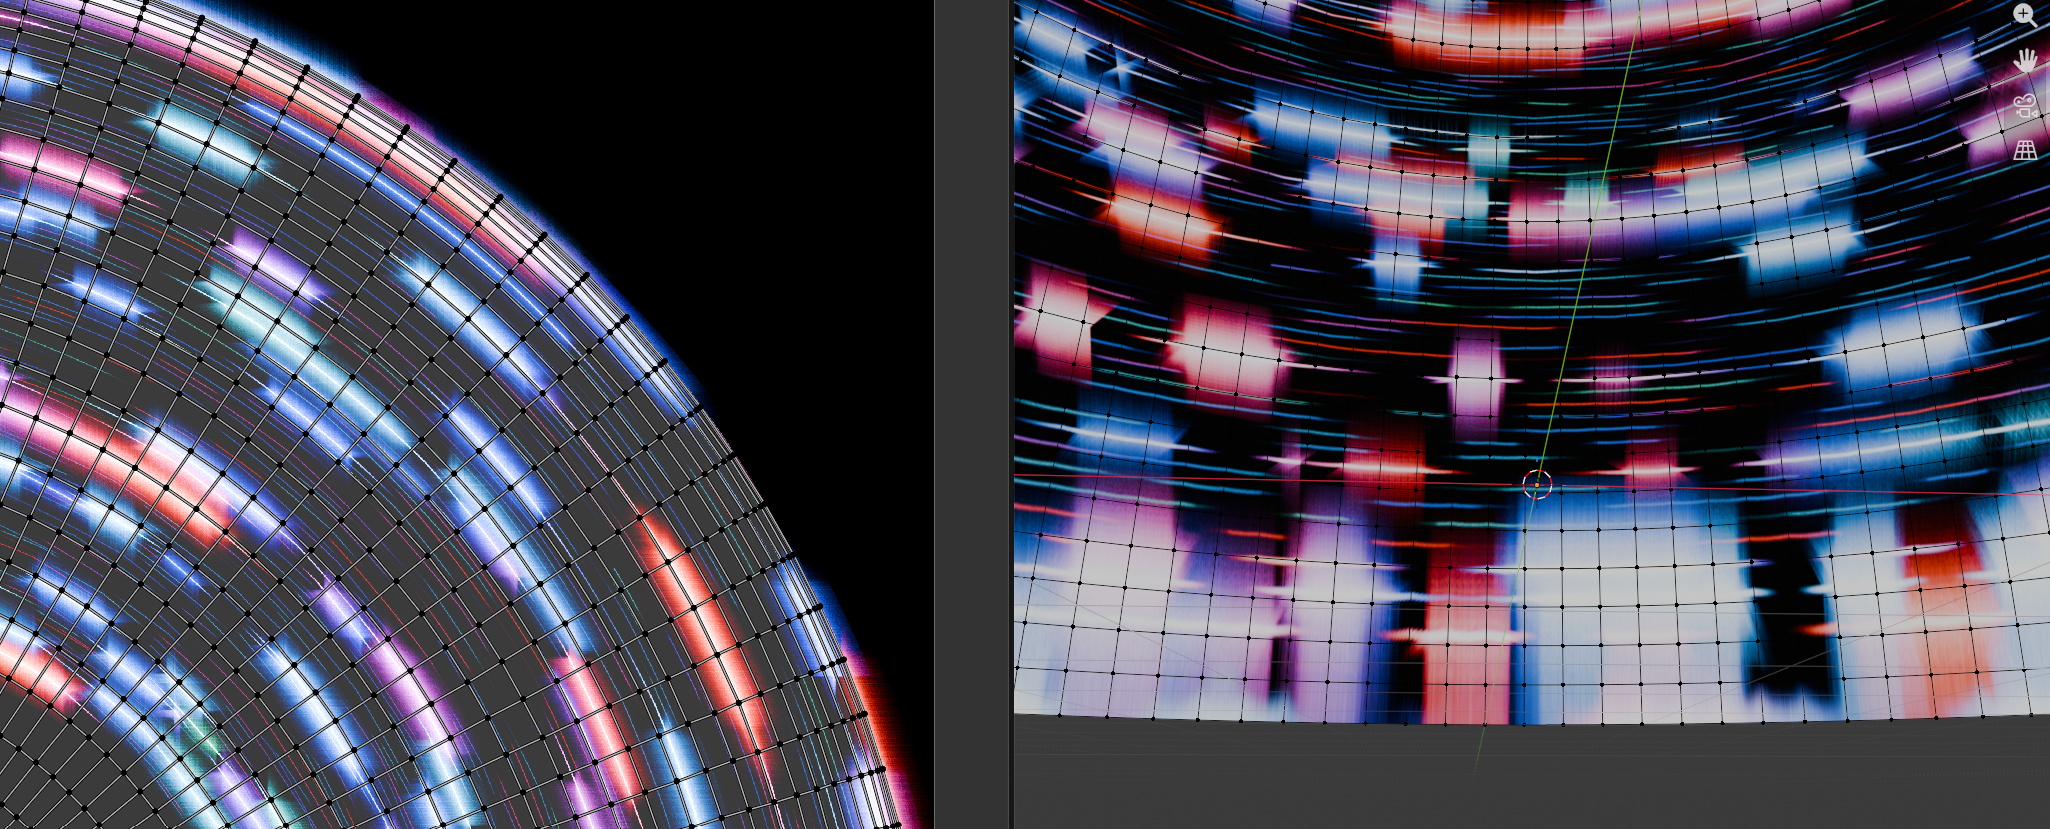
After giving up on getting Gemini to help me extract a proper map from a UV hemisphere, I asked Gemini to write me a python script with 3 parts:
- Create a flat circle with equally spaced rings
- Unwrap the model to get a lovely UV map
- Reposition the vertices of the circle to form the hemisphere.
It worked! And just look at the spacing on this lovely UV map… 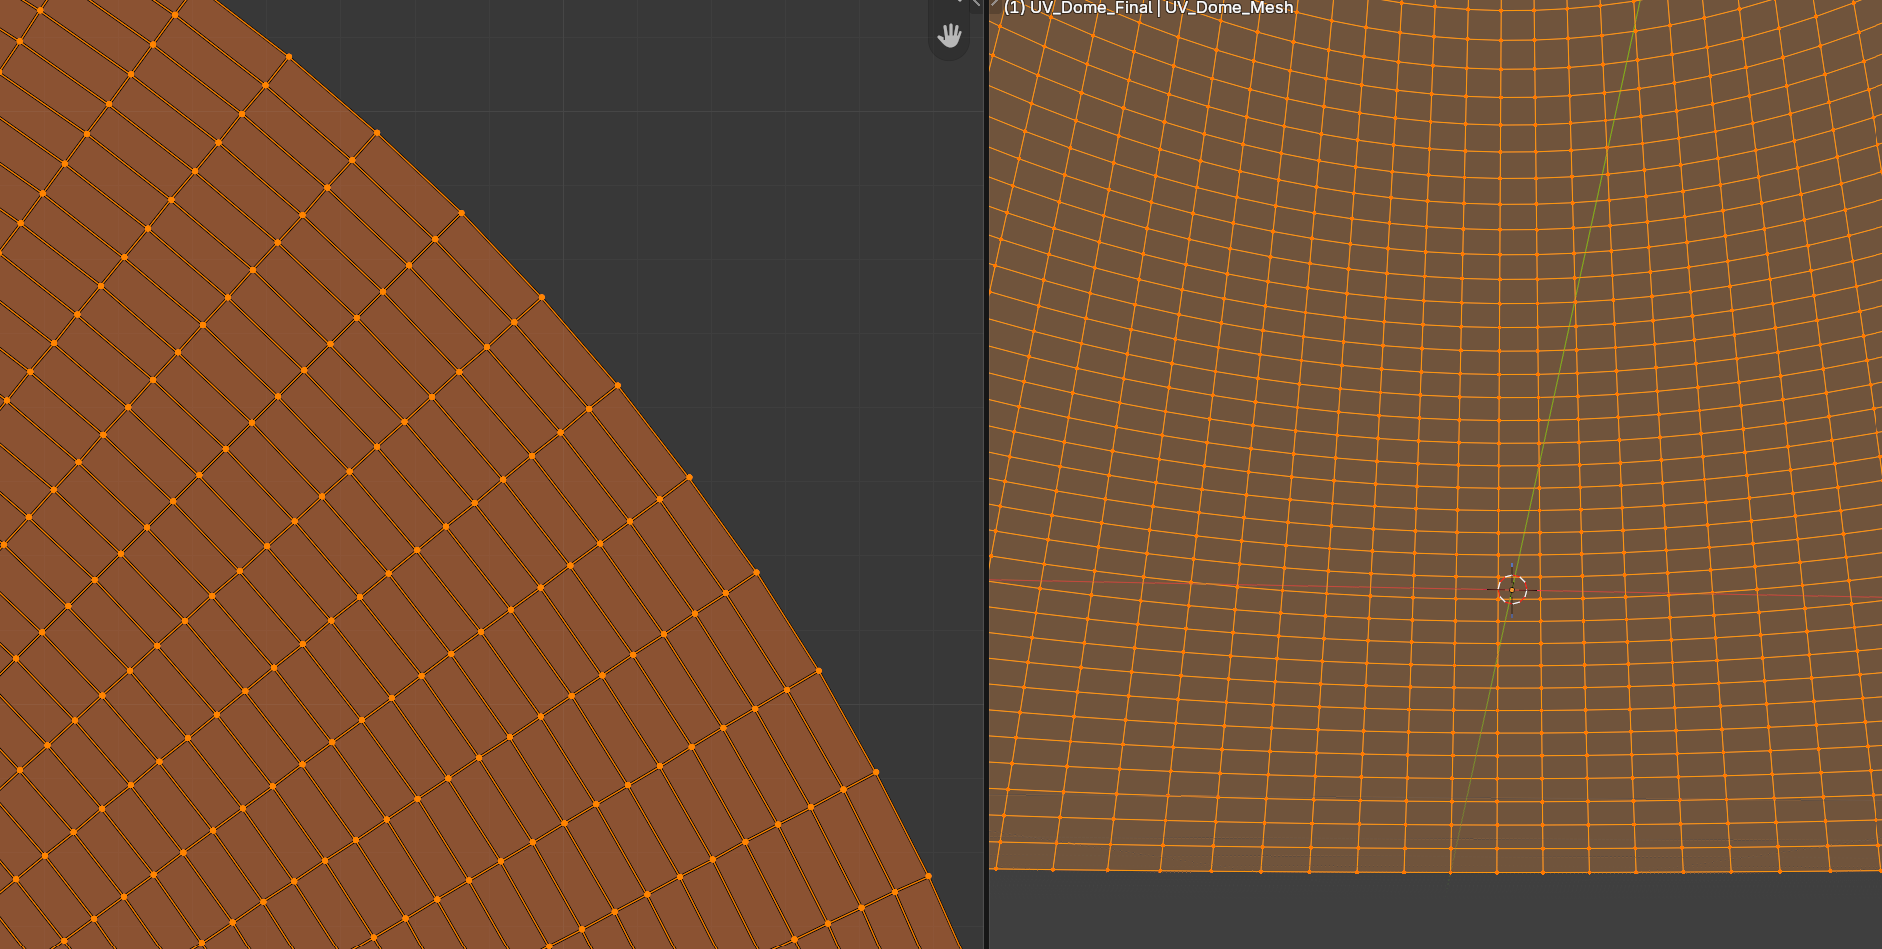
And the same image texture applied.. just look at those edges, they are true!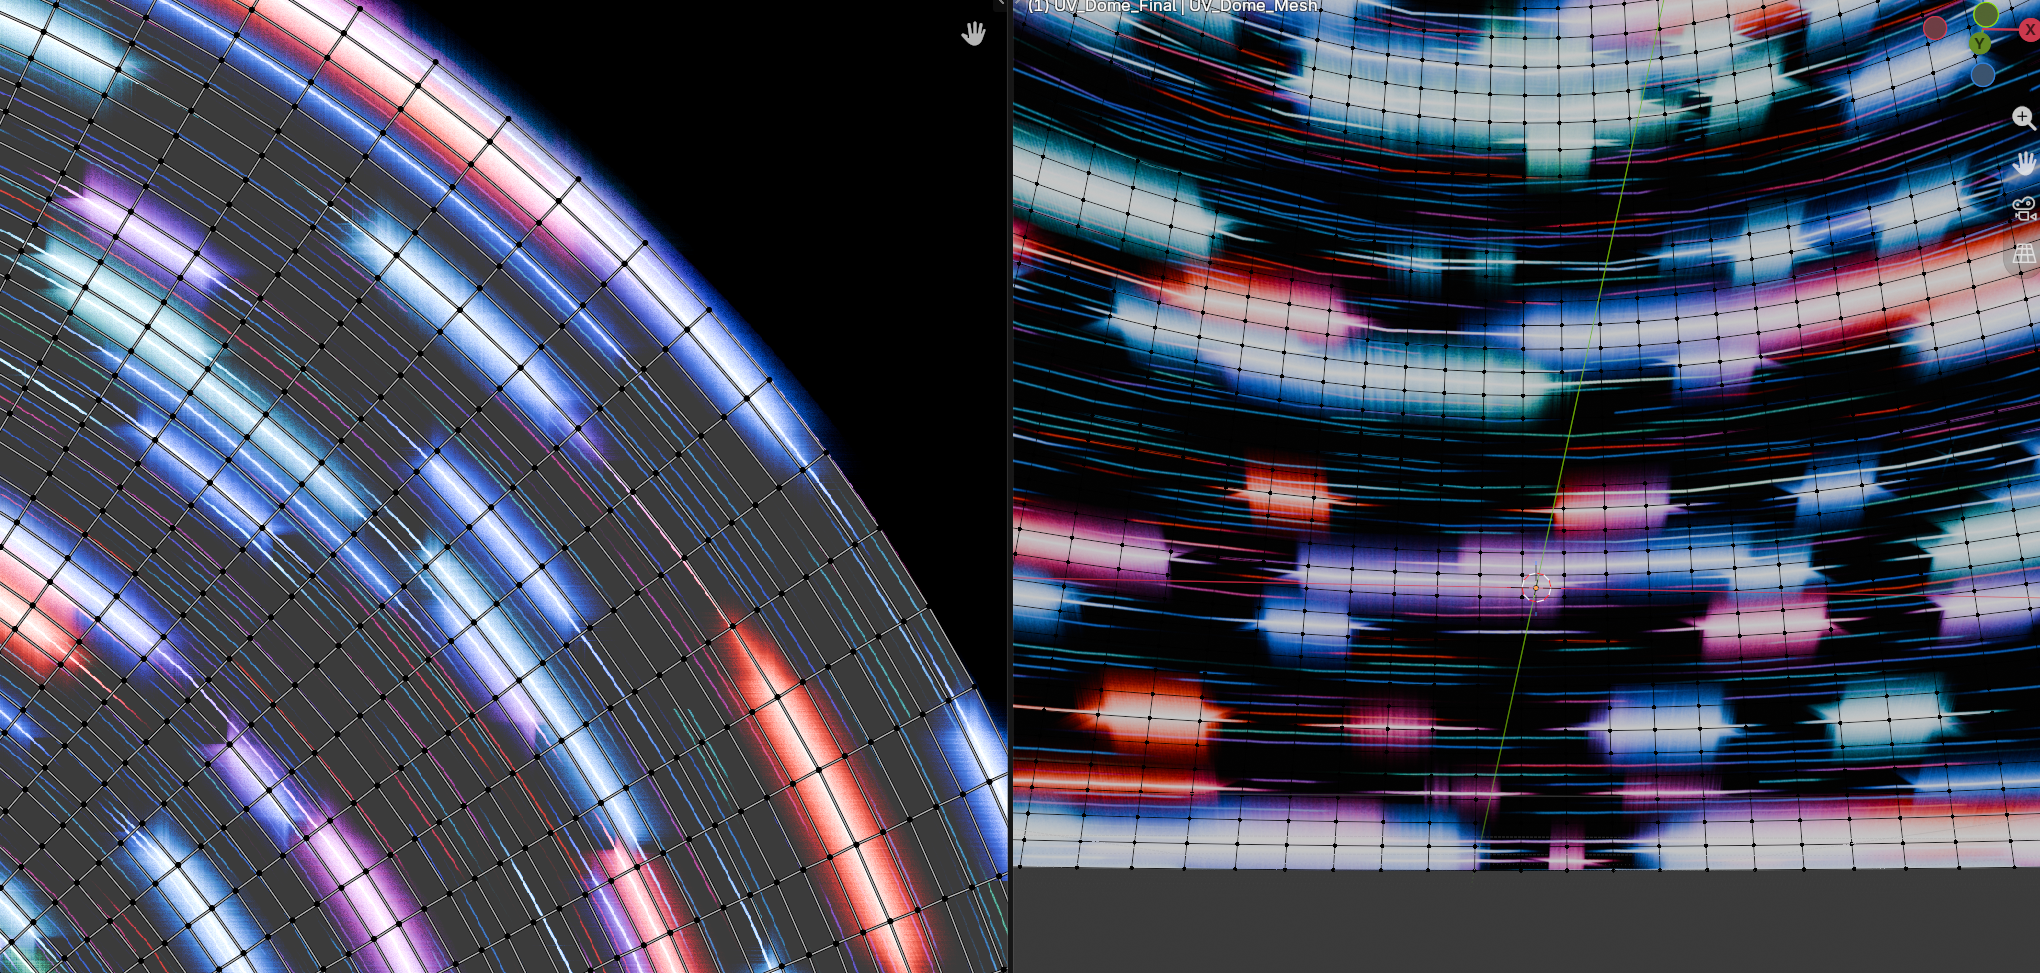
The script can be downloaded here: UV_Dome_Generator_for_Good_UVmap.py
For the script, example blend file, an exported fbx model, and summaries of the method and the several wrong turns it took before I thought to make a circle first, go to https://github.com/waystar/Blender-UV-dome-generator.