Saw this today on BlenderNation:
https://artisticrender.com/more-than-30-blender-modeling-tools-explained/
Erik Selin created this outstanding list describing more than 30 Blender modeling tools.
Free and open source software for the planetarium dome and other immersive environments.
Saw this today on BlenderNation:
https://artisticrender.com/more-than-30-blender-modeling-tools-explained/
Erik Selin created this outstanding list describing more than 30 Blender modeling tools.
I saw this posted on Blendernation this morning:
ToxicTuba shares a list of Blender texture resources that are well-worth checking out.
A year ago I started looking into Unity and quickly put it aside because other things came up and the frustration in learning did not motivate me to get back to it.
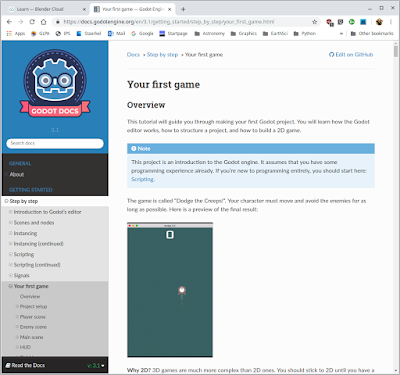
Here I am a year later, playing with Godot Engine on a rainy day. It is open source under the MIT license.
I must say that Godot is very clean and is working great both on my Windows 10 laptop and on my Linux machine. I’ve never used GDScript before, but the built-in editor is super helpful.
I’m in the Hello World stage of learning, but the early tutorials are already making so much more sense than I’d expected given my troubles with learning Unity. To be fair, it doesn’t necessarily mean that Godot is better than Unity. But it does mean that I can recommend the online tutorials in the Godot Engine documentation.

My friend Ron Proctor gave a great talk on Blender 2.80 today.
He has some Blender 2.80 intro videos available.
Check them out:
Introduction to Blender 2.80 – Ron Proctor
Last year’s upgrade and other things put this project on hold. I’m definitely going to resume working on it, especially since I’ve already put a lot into it.
A few production test stills made last summer before I had to put it on hold.
Additional testing held up. Distant fuzzy stuff at the edges blended nicely.
As expected, anything near intersection edges with glowiness would blend oddly, although not nearly as bad as I thought it would be.
That means rendering out separately the things to have glow applied and then do glow in compositing after stitching.
This will require serious planning but will still be worth it for the speed advantage with Eevee.
So in conclusion, I can happily add Eevee + Hugin to my production workflow.
Now I need to test it with a variety of scene types to see how the seams turn out. Even if I can’t use this for all cases, it will still work for enough situations to have made this worth my while.
I’ll keep updating on this, and will share the scripts and make a tutorial or how-to if there is enough interest.
A very cool effect in our digital planetarium is to take slices of an image and use them to seemingly build or break apart the image.
In our Digistar system, I create an empty object to be the parent of all of the needed image planes and position the image planes accordingly.
By keeping the image slices organized in folders, the separate image planes can be assigned slidesets to advance or reverse through a set of images.
To make the image slices, I use GIMP.
There are lots of ways to place guides for cutting. I’m accustomed to a script that lets me put the guide positions in by percentage. I don’t speak German, but the script maker does. 
I check the boxes to indicate that I’m setting the guides by percentage, then I enter percentages and select horizontal or vertical.
Because the slice tool is meant for web work, an html file is created. I just delete that later.
Very promising FOSS video editor:
Blender 2.80 features the superfast render engine Eevee, but there’s no fisheye camera as there is with the Cycles render engine. So it’s back to the old-fashioned method of rendering out panels to be stitched together.
Instead of rendering out 90 degree panels, I’m trying 110 degree panels and then using Hugin to stitch with blending. To reduce nastiness of seams, at least making them less obvious.
One frame at a time works great, but scripting it to run from command line and iterate through the frames isn’t working so great. Yet. There is a newer Hugin command-line program called hugin_executor.exe that works exactly like stitching from the gui, but I haven’t figured out a way to pass along different input files than the ones saved to my custom PTO file. I might try a script that copies each set into a scratch folder and renames them into what the PTO file wants, then renames the result and puts into a results folder.