 |
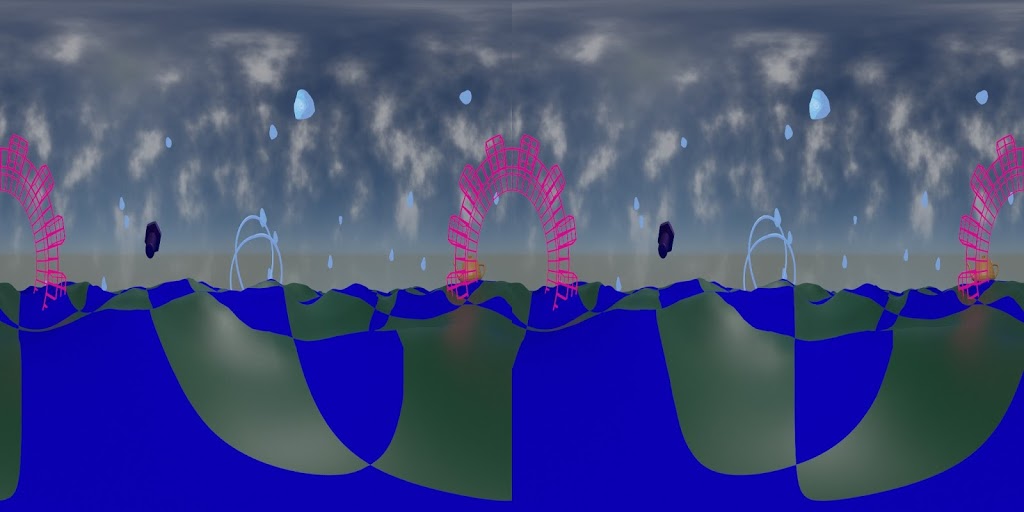
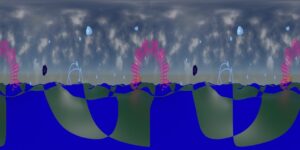
| 3D stereoscopic test frame, SBS. |
Tag: Blender
Blendpeaks free add-on for Blender from Oormi Creations
Wow. Saw this today on BlenderNation:
http://www.blendernation.com/2020/05/24/blendpeaks-create-mountain-peaks-in-blender-free-add-on/
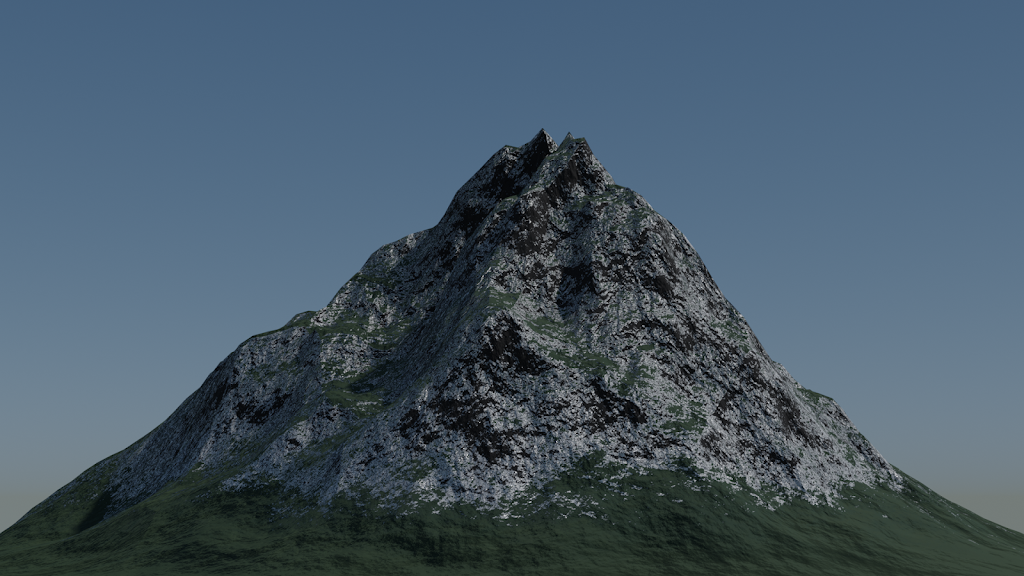
It creates a plane and a shader setup for material and displacement.
I made a quick test using defaults, with a default Sky Texture and the default single scene lamp:
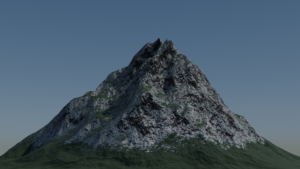
I like it. I like it a lot. In fact, I think I might be a bit in love.
Here’s the direct link:
http://github.com/oormicreations/Blendpeaks/releases
And while you’re at it, please do check out the Oormi Creations website:
http://oormi.in/index.htm
An excellent guide to Blender nodes
Saw this on BlenderNation today…
The complete beginners guide to Blender nodes, Eevee, Cycles and PBR
Wow. I like this. I like this a lot.
http://artisticrender.com/the-complete-beginners-guide-to-blender-nodes-eevee-cycles-and-pbr/
Blender Animation Nodes
There is so much great info on Blender Animation Nodes, but getting started with them can be a huge step.
Rotating Earth / Spinning Top
I shared this previously on Facebook, but I’m back to the project.
The blend file is available here:
https://github.com/waystar/Sample-Blend-Files
Drop me a line if you want the PNG frames with alpha background.
Nodevember!
I might try some of these, since I want to step up my node-based procedural textures game!
 |
| From nodevember.io |
I won’t have time to do them all, but I’ll try to some of them. I will of course be using Blender, but any procedural/node based software can be used.
Fulldome Blender 2.8 Workshop GLPA 2019
The 2019 annual meeting of the Great Lakes Planetarium Association was held last week, hosted by the Ritter Planetarium of The University of Toledo.
It was special for me because my planetarium career started at Ritter Planetarium in February 1992. Honestly I had planned to stop conducting workshops for a few years so that I could concentrate on my GLPA executive community duties. But Alex Mak asked so of course I said yes.
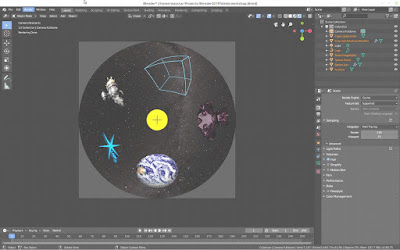
The result is a very revised version *NEW!* for Blender 2.8:
https://github.com/waystar/2019-Blender-Workshop-Materials
- Setting up render engine, camera and outputs for fulldome masters.
- Setting up layers to separate objects for compositing to get glows or denoising only on some objects.
- Compositing node setups examples.
- Basics of materials, with shader node tree examples for incorporating alpha channels and animating fades between textures.
- World environment settings and node trees for animation.
- Examples of animating various objects and effects achieved through animating modifiers.
https://github.com/waystar/2019-Blender-Workshop-Materials
Click the “Clone or download” button to download the whole thing in a zip file.
Drop me a line if you find mistakes or OS-related differences. (I test on Linux and Windows.) Also, let me know if you find any of it particularly useful and I would LOVE to see what you make.
And of course, if you are having trouble with something in particular that you are trying to do, let me know. If I can’t help get it to work, I might be able to suggest alternate approaches to get the same effect.
Blender procedurally generated circuit board…
I saw this today on BlenderNation.
A very easy to follow demonstration of setting up nodes in Blender 2.8 to create a circuit board texture from Leroy Xie.
Direct link: https://youtu.be/9iO-7RbDSw8
| https://youtu.be/9iO-7RbDSw8 |
Final(ish) update for Hugin and Blender Eevee
Additional testing held up. Distant fuzzy stuff at the edges blended nicely.
As expected, anything near intersection edges with glowiness would blend oddly, although not nearly as bad as I thought it would be.
That means rendering out separately the things to have glow applied and then do glow in compositing after stitching.
This will require serious planning but will still be worth it for the speed advantage with Eevee.
So in conclusion, I can happily add Eevee + Hugin to my production workflow.
Hugin and Blender Eevee Fulldome Master Update
Now I need to test it with a variety of scene types to see how the seams turn out. Even if I can’t use this for all cases, it will still work for enough situations to have made this worth my while.
I’ll keep updating on this, and will share the scripts and make a tutorial or how-to if there is enough interest.
