JunoCam Citizen Science

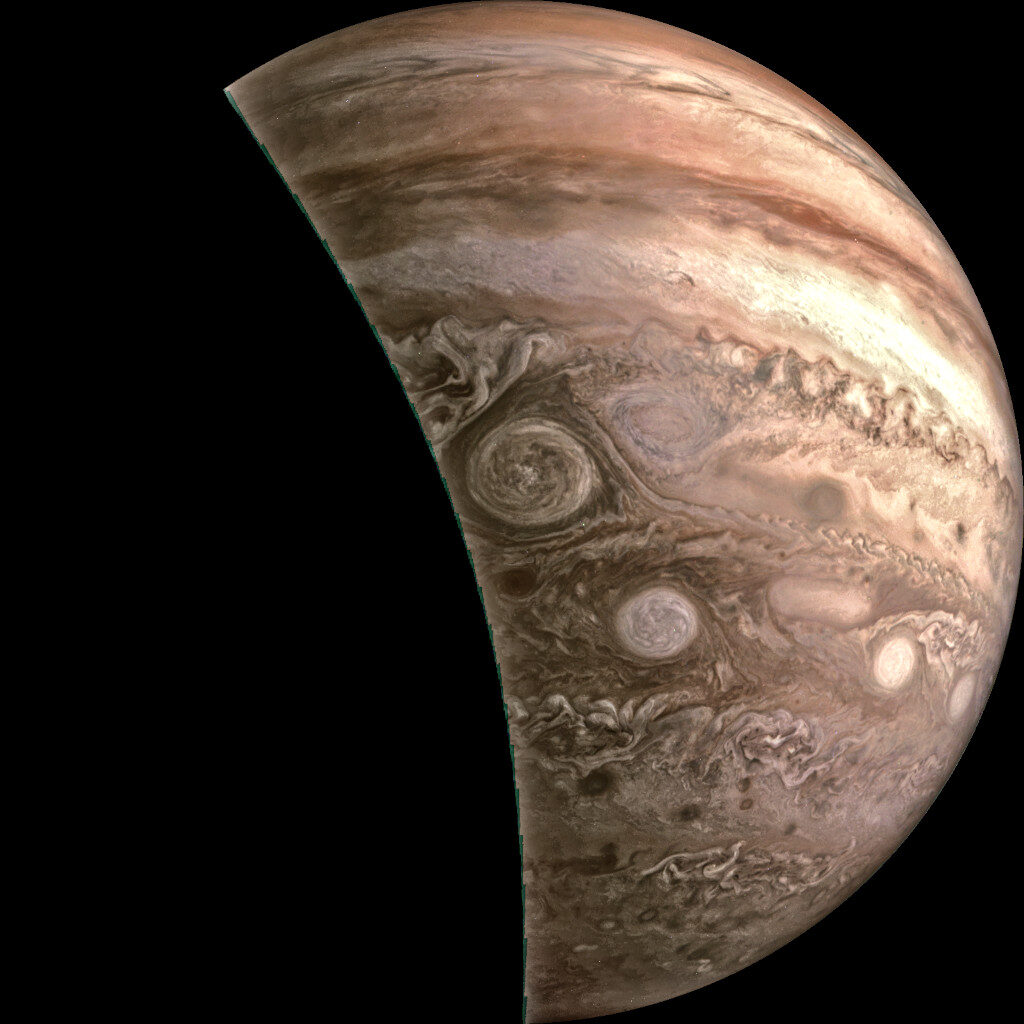
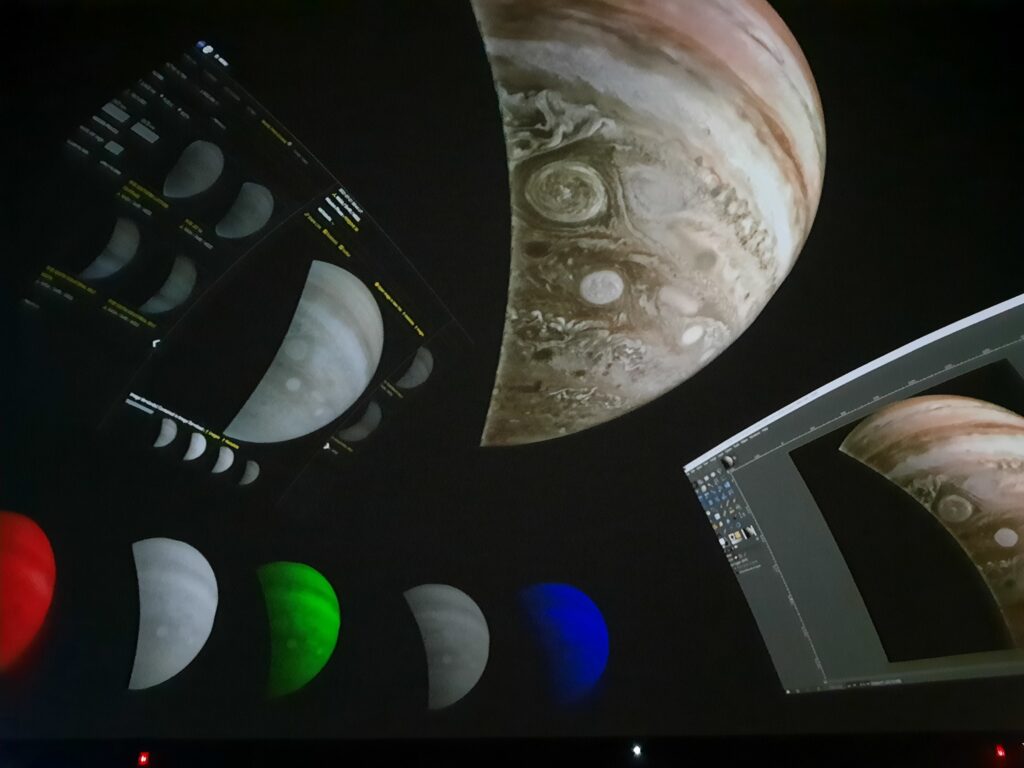
My first attempt at Citizen Science on display in the dome!

A few weeks ago, I watched this video, produced by the Griffith Observatory a year ago:

As in the demonstration video I watched, I used Gimp. Of course I could have used Krita, but Gimp is my go-to since I’m so familiar with it.

First I downloaded set of images from 2021-07-21 Perijove 35:

https://www.missionjuno.swri.edu/junocam/processing?id=11074
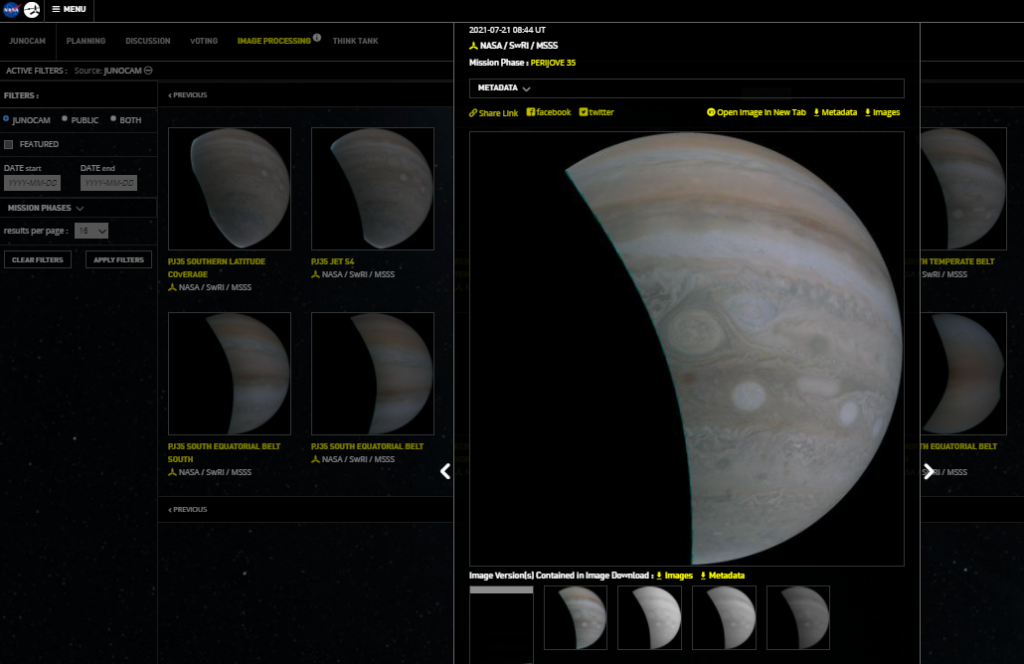
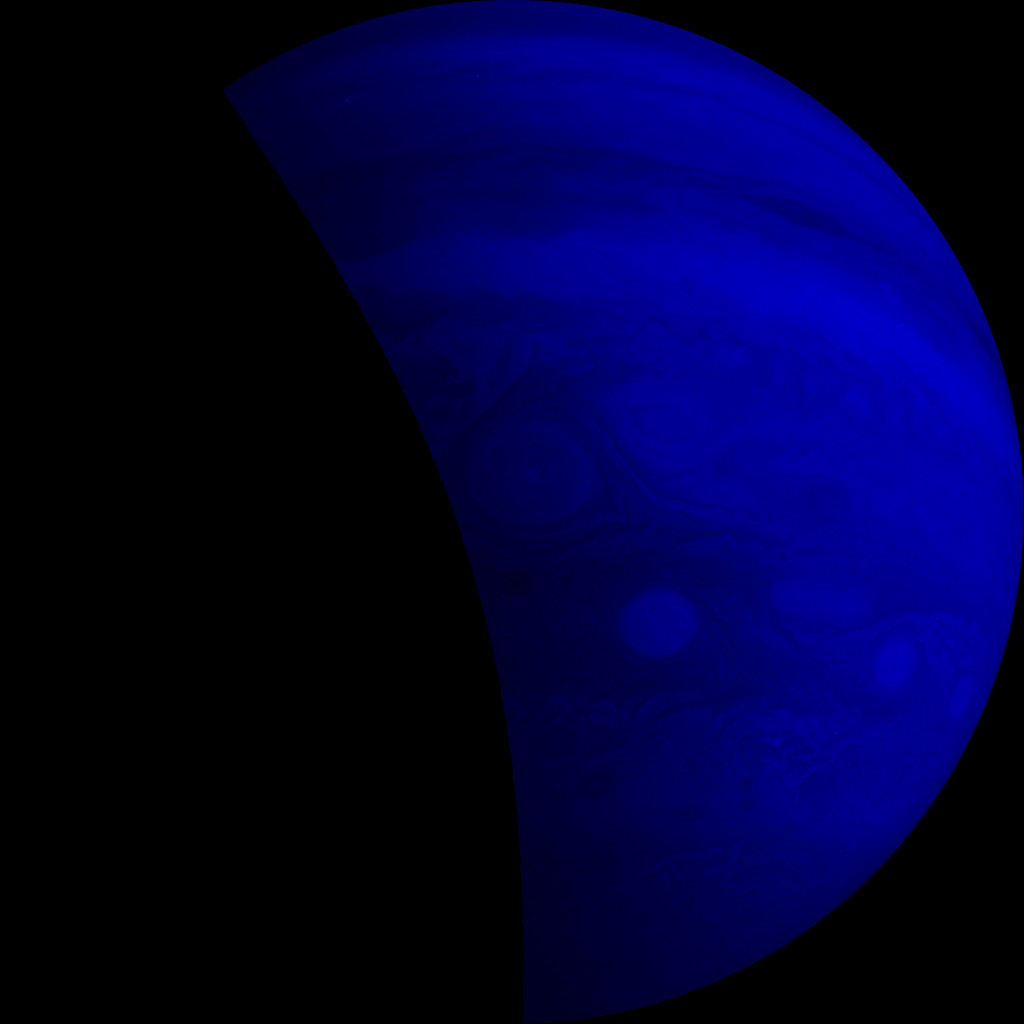
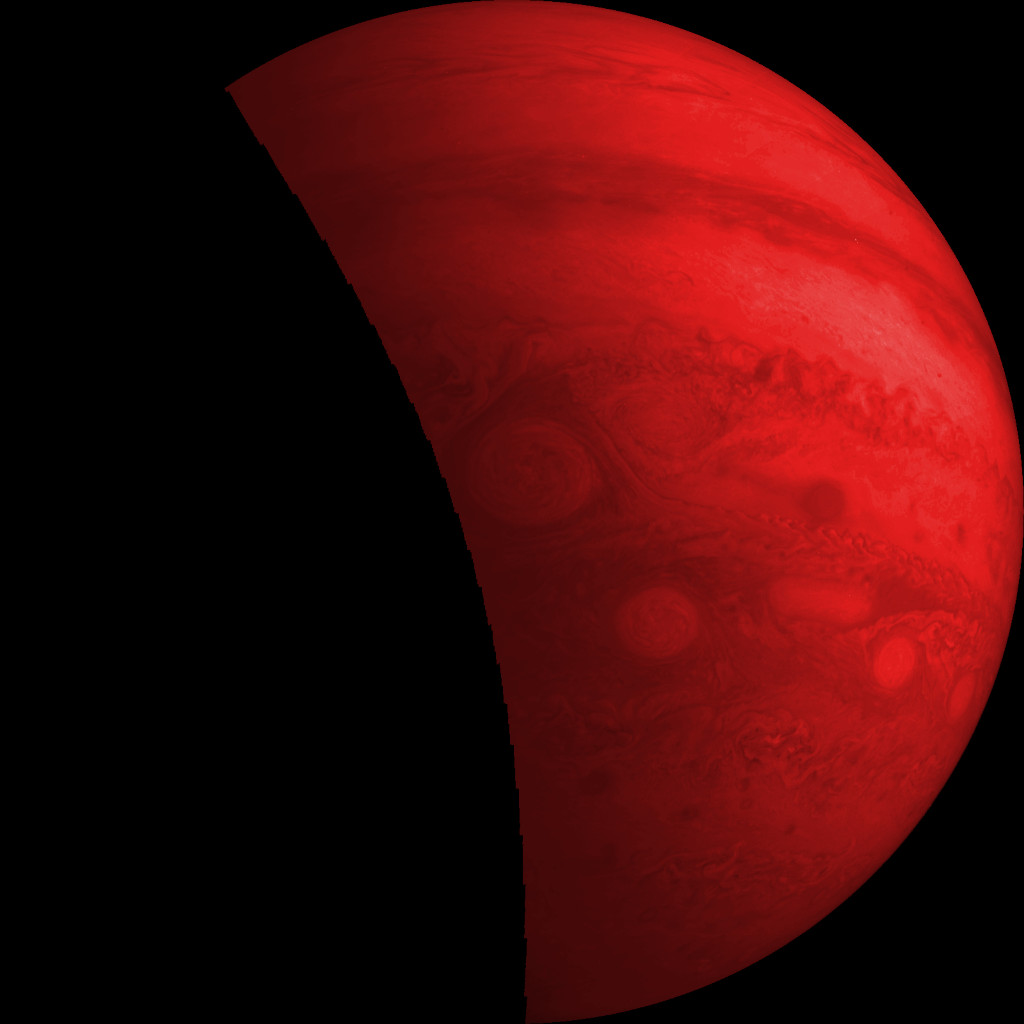
I opened the three color PNGs as layers and colorized them accordingly.
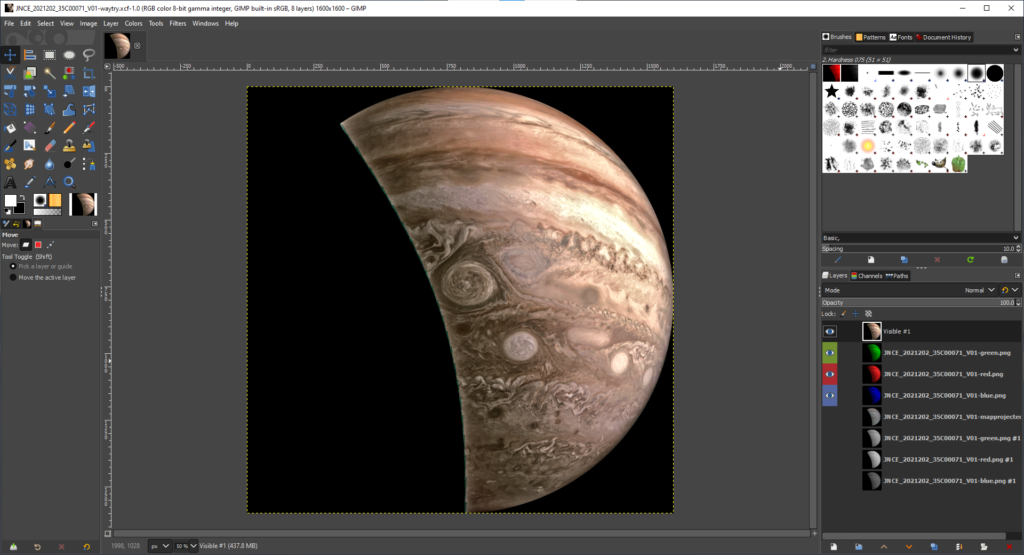
Then I played around with the individual layers’ brightness and contrast settings, then combined using Screen as the blend mode.
After I got the colors close to how I liked them, I used the G’Mic Tone Sharpening to bring out the detail.  (https://gmic.eu/index.html)
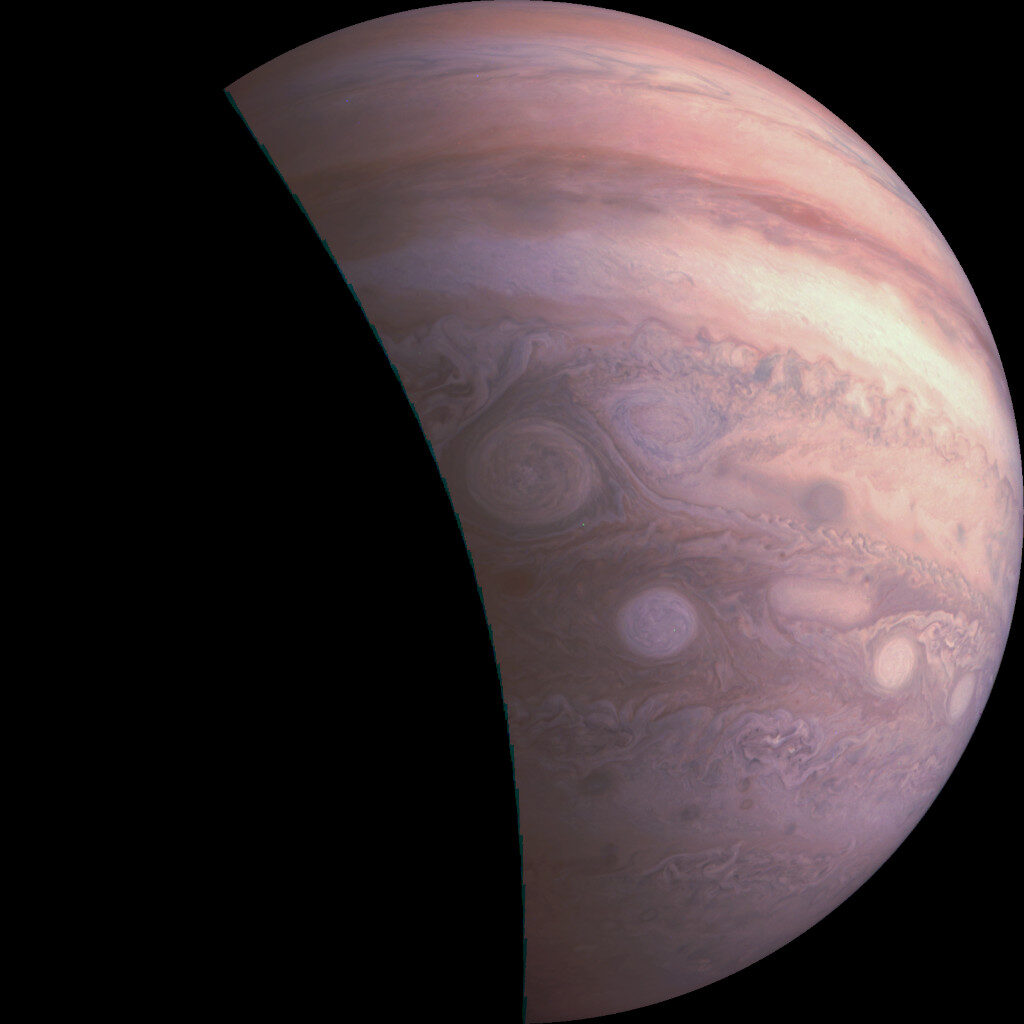
Before tone sharpening
After tone sharpening

I spent very little time on it, about 25 minutes total. I’m pleased with it and look forward to showing others how to make their own.

Episode 2: The Goodness that is GIMP

FOSSdome
FOSSdome
Episode 2: The Goodness that is GIMP
/

This week I list 10 things I use GIMP for in my planetarium work.

Links mentioned in this episode:
GIMP https://www.gimp.org/
NASA Photojournal https://photojournal.jpl.nasa.gov/
Using Gimp to Slice Images https://fossdome.com/using-gimp-to-slice-images/

Episode 1: State of the Open Sources

FOSSdome
FOSSdome
Episode 1: State of the Open Sources
/

In this debut, I briefly go over some of my favorite open source packages and what I typically use them for.

Links mentioned in the episode:

Blender https://www.blender.org/
GIMP https://www.gimp.org/
Inkscape https://inkscape.org/

Krita https://krita.org/en/
ImageMagick https://imagemagick.org/
G’MIC https://gmic.eu/

Audactiy https://www.audacityteam.org/
Scribus https://www.scribus.net/
LibreOffice https://www.libreoffice.org/
OpenShot https://www.openshot.org/

A stitch in time (or space)

Since the planetarium will be operating online for the foreseeable future, I’ve been working on ways to give everything a nice local touch.

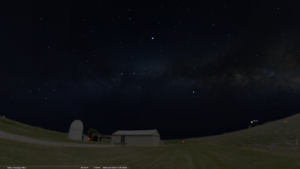
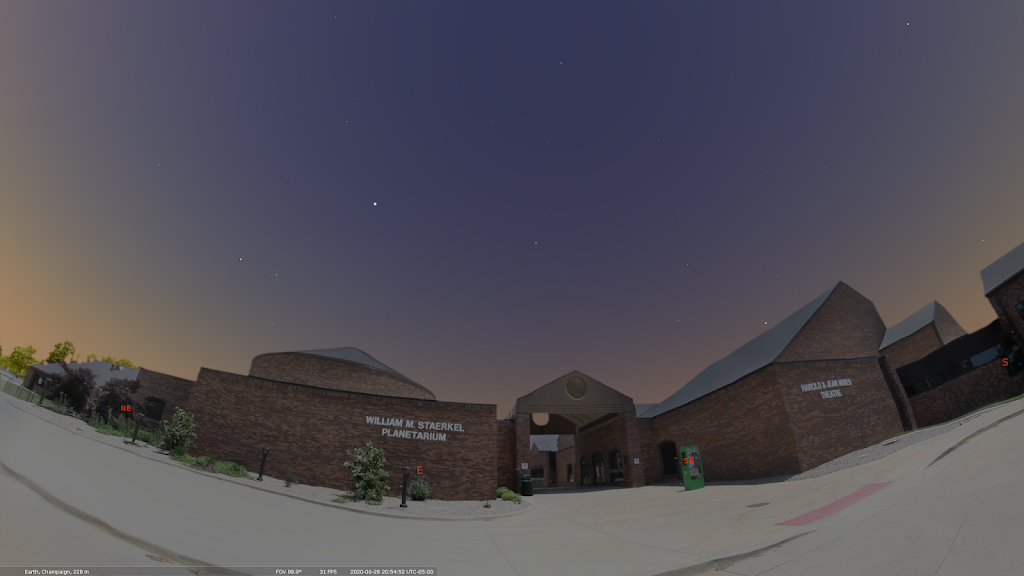
One way has been to make custom panoramas for use with Stellarium.

William M. Staerkel Planetarium             
Parkland College
Champaign-Urbana Astronomical
Society Observatory

We should be able to use them with our Digistar 6 in the dome when we are able to reopen. I like making content that can be used on different platforms

I used a DSLR with a fisheye lens on a tripod to get a good selection of overlapping images, making sure to have some shots with objects of interest centered.

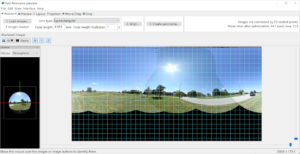
I used Hugin to stitch the images. It’s not super automatic, but there are builtin tools for aligning and for masking out troublesome spots.

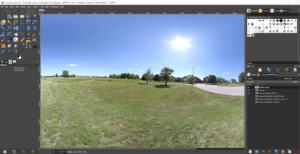
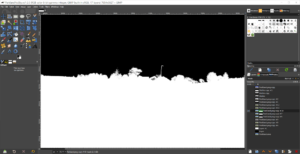
Finally, I use Gimp to fix up the nadir a bit and to get rid of the sky. I also fix up any small stitching errors that I missed earlier. Some distant power lines and light poles will end up cut in the process, but I can live with that.

It’s a messy process, but I use brightness and contrast settings and sometimes desaturation to get a nice mask. I work in smaller sections and then combine them.

And I usually have to over-mask the vegetation because I don’t have the patience to cut out around each leaf.

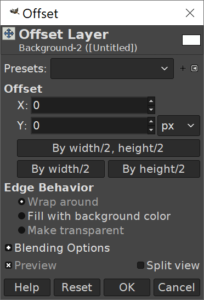
Don’t forget to check your edge seams. Layer > Transform > Offset and select “By width/2” with “wrap around” selected for Edge Behavior.

Using GIMP to slice images

A very cool effect in our digital planetarium is to take slices of an image and use them to seemingly build or break apart the image.

In our Digistar system, I create an empty object to be the parent of all of the needed image planes and position the image planes accordingly.

By keeping the image slices organized in folders, the separate image planes can be assigned slidesets to advance or reverse through a set of images.

To make the image slices, I use GIMP.


There are lots of ways to place guides for cutting. I’m accustomed to a script that lets me put the guide positions in by percentage. I don’t speak German, but the script maker does. 

I check the boxes to indicate that I’m setting the guides by percentage, then I enter percentages and select horizontal or vertical.

My guides are in place.

Select Filters > Web > Slice

Because the slice tool is meant for web work, an html file is created. I just delete that later.

And then I have a folder full of sliced image pieces!