 |
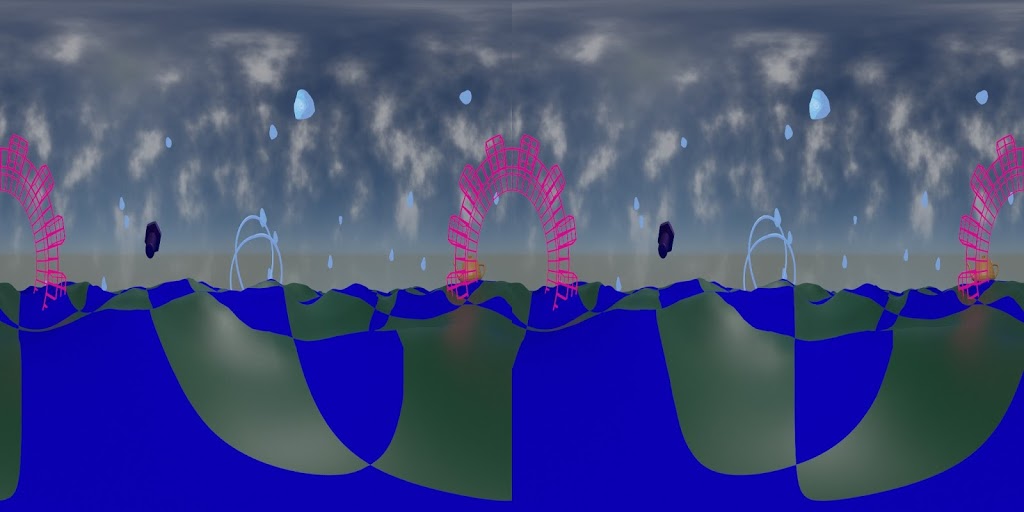
| 3D stereoscopic test frame, SBS. |
Tag: immersive
Vahana VR & VideoStitch Studio
Vahana VR & VideoStitch Studio: software to create immersive 360° VR video, live and in post-production.
I ran across this by accident today. I don’t yet have a dual camera setup to work with, but I want to be prepared. I ran across a discussion thread talking about the software and then the thread turned to sadness with a post that the company making it had folded. Then at the end was another post linking to another thread cheering the revival of the software as an open source project with the MIT License.
https://github.com/stitchEm/stitchEm
Honestly it has been a few years since I’ve built my own packages. Hopefully I can satisfy the dependencies through package managers at least. (If I had time to compile everything, I would still be running Gentoo. It ran mighty fast, but compiling time added up.)
If and when I manage to trying it out, I will be sure to update.
Final(ish) update for Hugin and Blender Eevee
Additional testing held up. Distant fuzzy stuff at the edges blended nicely.
As expected, anything near intersection edges with glowiness would blend oddly, although not nearly as bad as I thought it would be.
That means rendering out separately the things to have glow applied and then do glow in compositing after stitching.
This will require serious planning but will still be worth it for the speed advantage with Eevee.
So in conclusion, I can happily add Eevee + Hugin to my production workflow.
Hugin and Blender Eevee Fulldome Master Update
Now I need to test it with a variety of scene types to see how the seams turn out. Even if I can’t use this for all cases, it will still work for enough situations to have made this worth my while.
I’ll keep updating on this, and will share the scripts and make a tutorial or how-to if there is enough interest.
Testing with Blender and Hugin
Blender 2.80 features the superfast render engine Eevee, but there’s no fisheye camera as there is with the Cycles render engine. So it’s back to the old-fashioned method of rendering out panels to be stitched together.
Instead of rendering out 90 degree panels, I’m trying 110 degree panels and then using Hugin to stitch with blending. To reduce nastiness of seams, at least making them less obvious.
One frame at a time works great, but scripting it to run from command line and iterate through the frames isn’t working so great. Yet. There is a newer Hugin command-line program called hugin_executor.exe that works exactly like stitching from the gui, but I haven’t figured out a way to pass along different input files than the ones saved to my custom PTO file. I might try a script that copies each set into a scratch folder and renames them into what the PTO file wants, then renames the result and puts into a results folder.


